This page is based on our own long-term carpentry, installation, shop or home-project use as described below. We separate what we personally used from alternatives we have only seen or researched.
The project
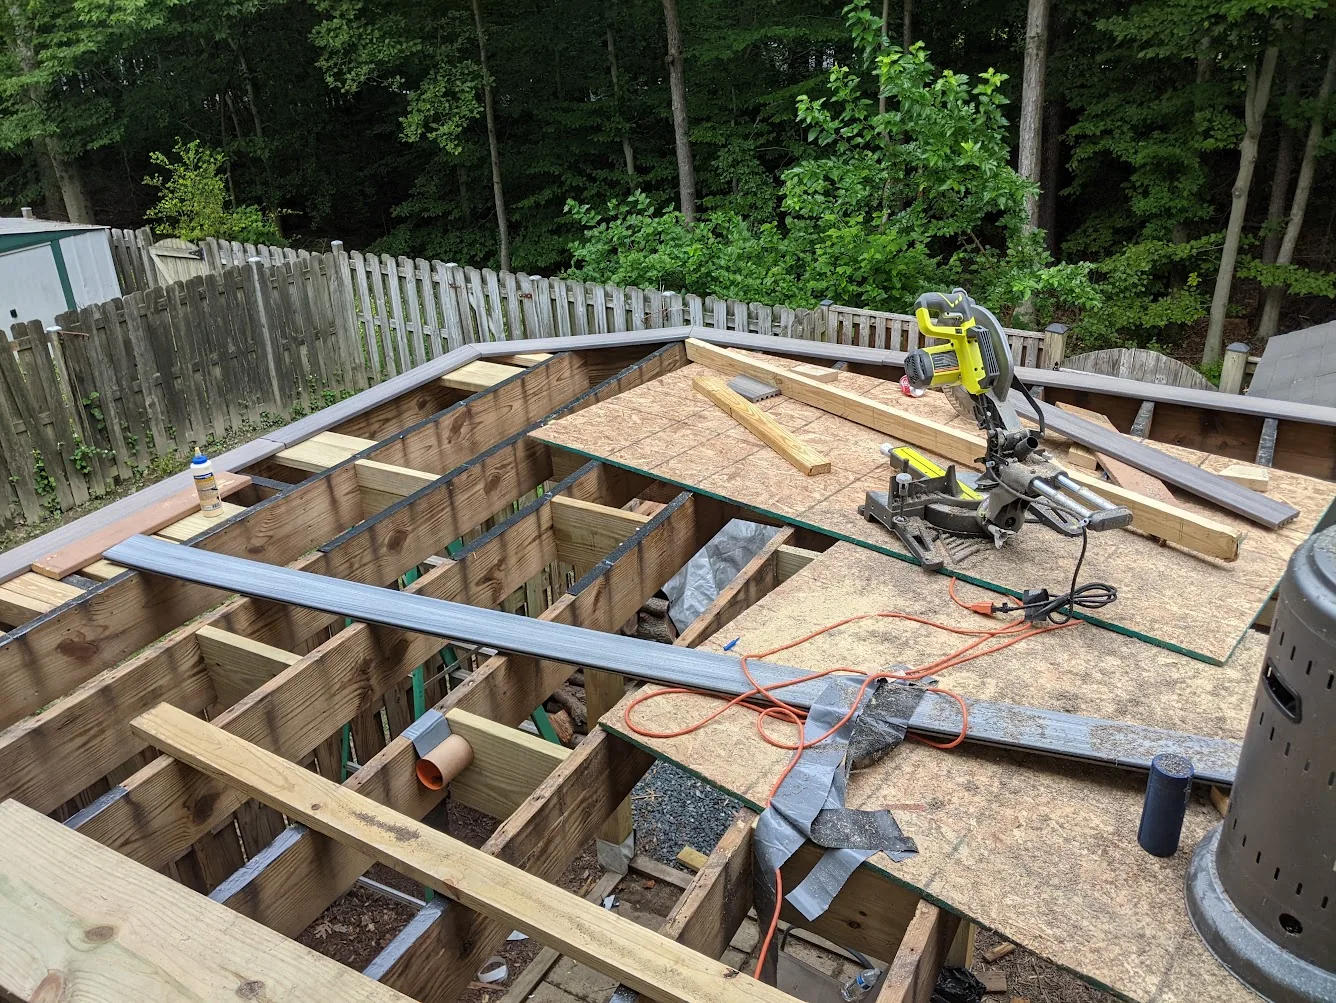
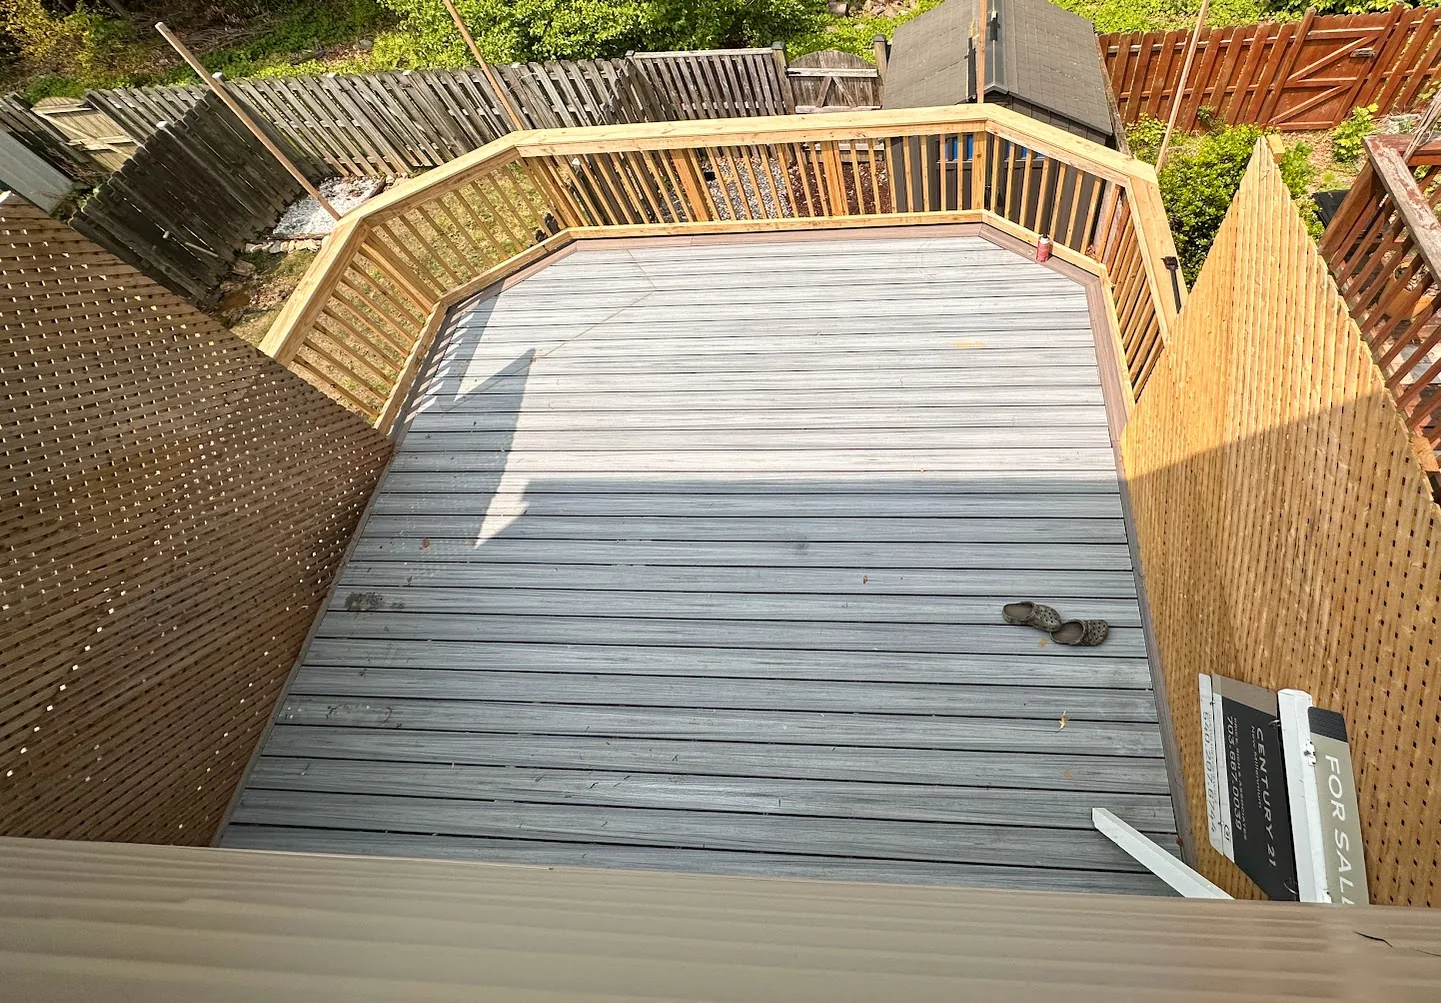
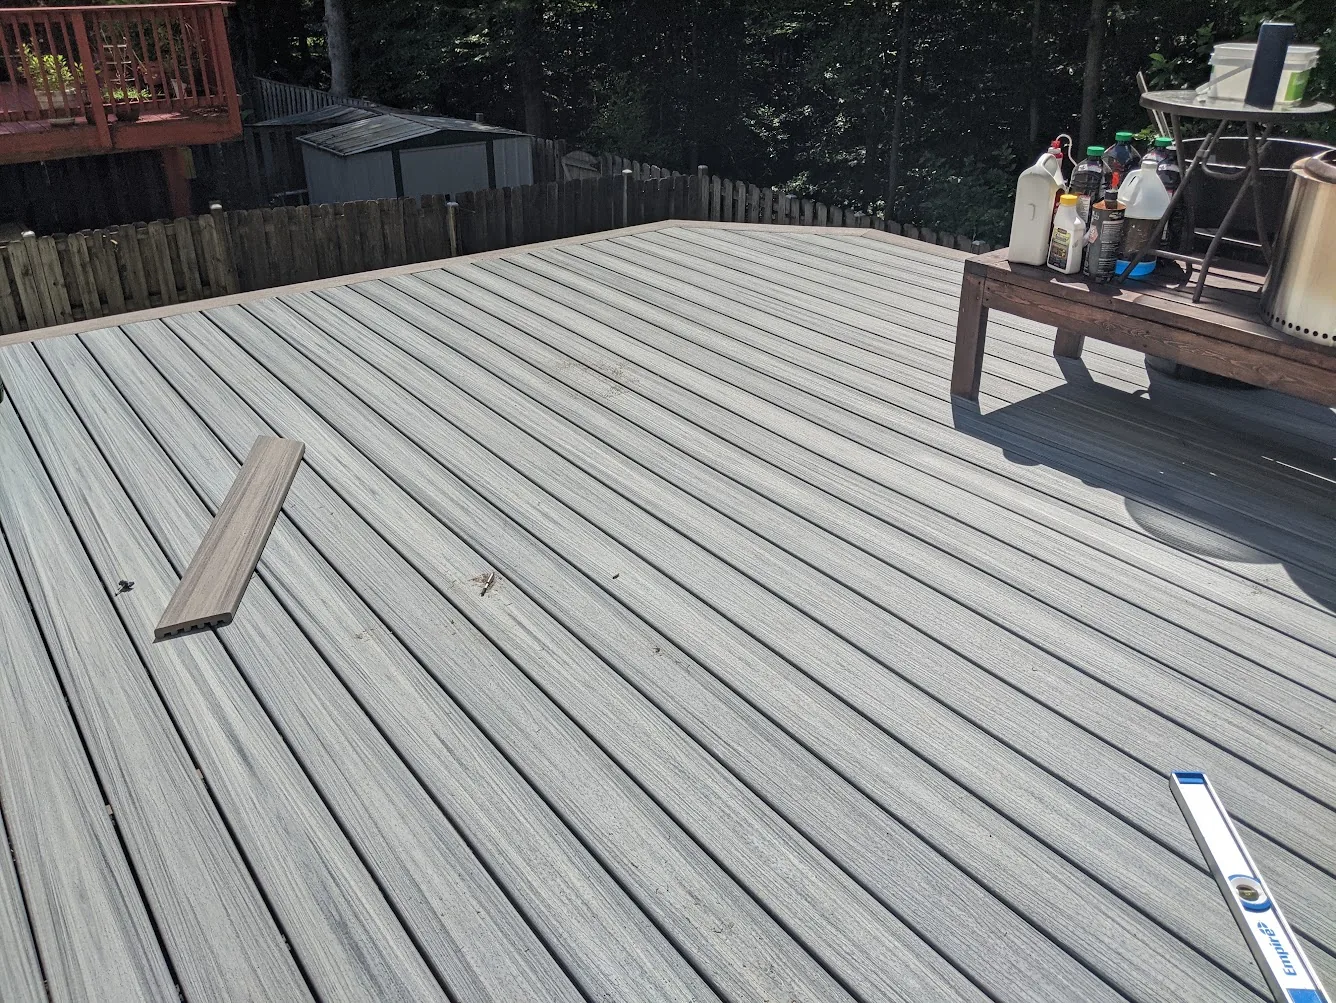
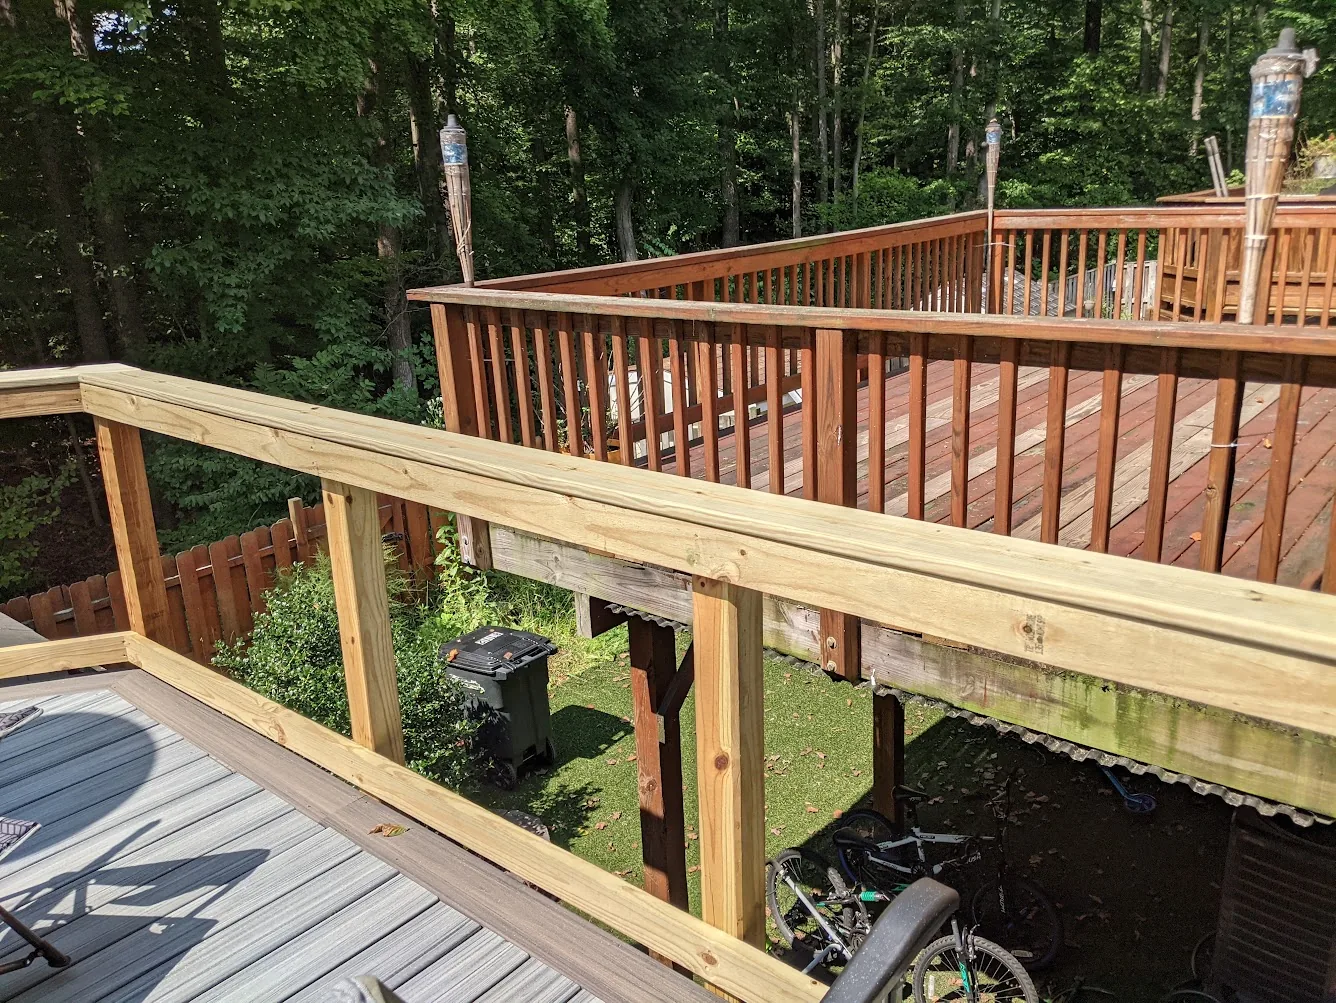
In May 2023 we worked on a deck measuring roughly 15 ft 2 in by 19 ft, or about 288 square feet. The photos show the deck opened up to the framing, joist protection being used, composite boards going down, railing work and the completed walking surface.
RYOBI 12-inch sliding miter saw
The main miter saw on this project was a RYOBI TSS121. It had enough power for the work and we liked the blade-shadow cut indicator. The downside was the screw-style miter adjustment, which is slower than the quick-lock control we were used to on DEWALT saws.
RYOBI TSS121 ↗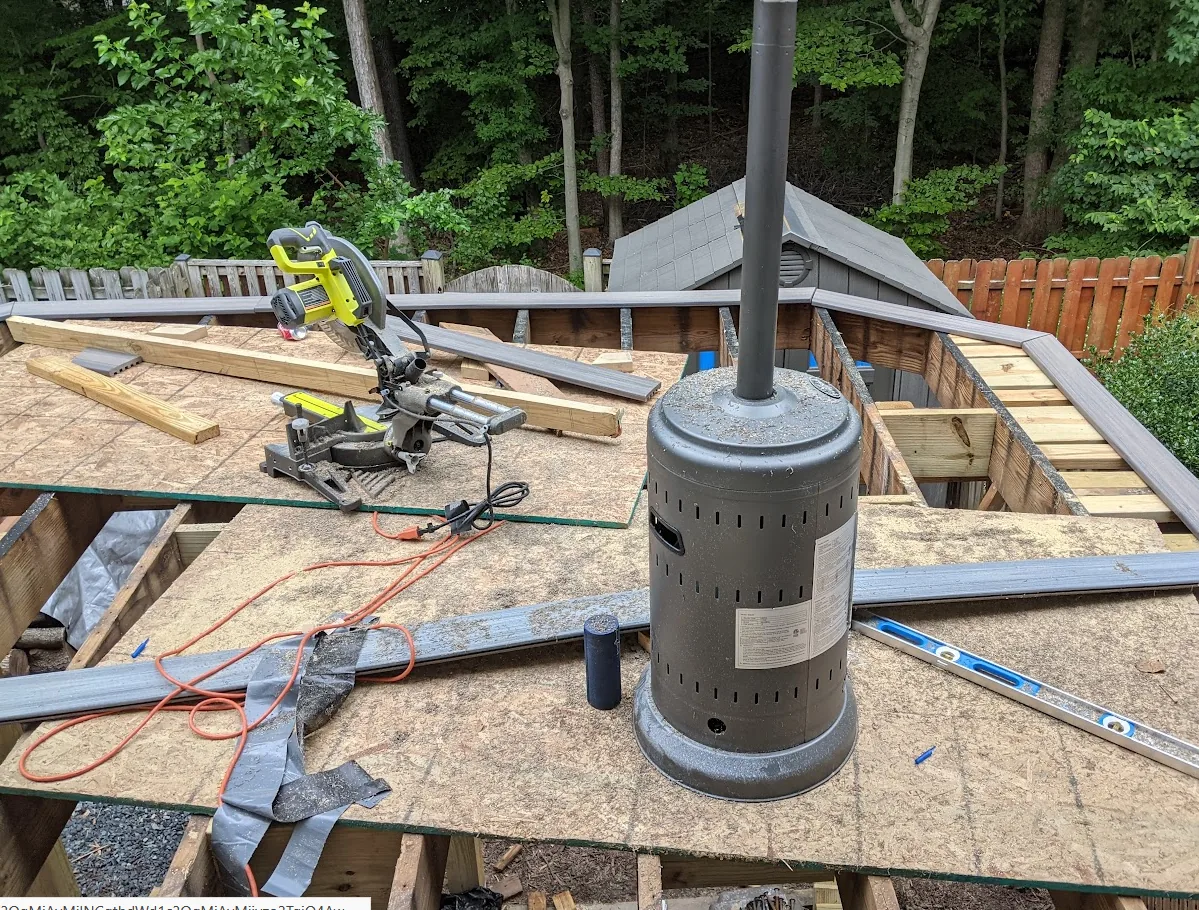
SPAX joist tape
Before covering framing with new composite boards, we used SPAX butyl joist tape over exposed joists. The purpose is straightforward: add a protective layer over the top of the framing where water can otherwise sit around fasteners and end grain.
SPAX deck joist butyl tape ↗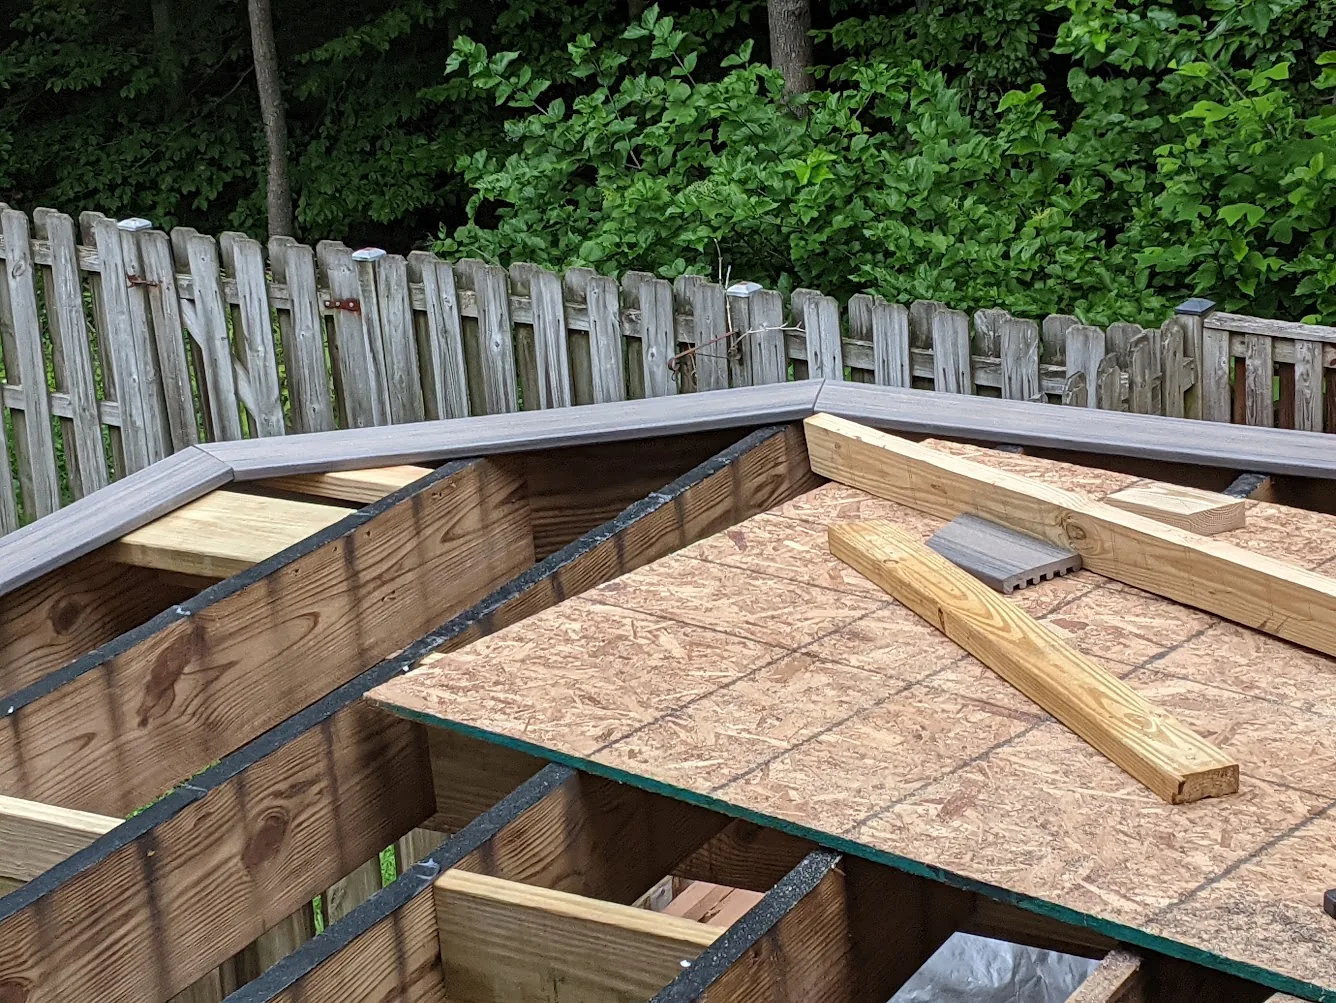
Trex hidden fasteners
The composite boards were installed with Trex Hideaway-style hidden fasteners. Hidden clips keep the fastener system out of the main walking surface and help maintain consistent board spacing when the system is installed as designed.
Trex Hideaway fasteners ↗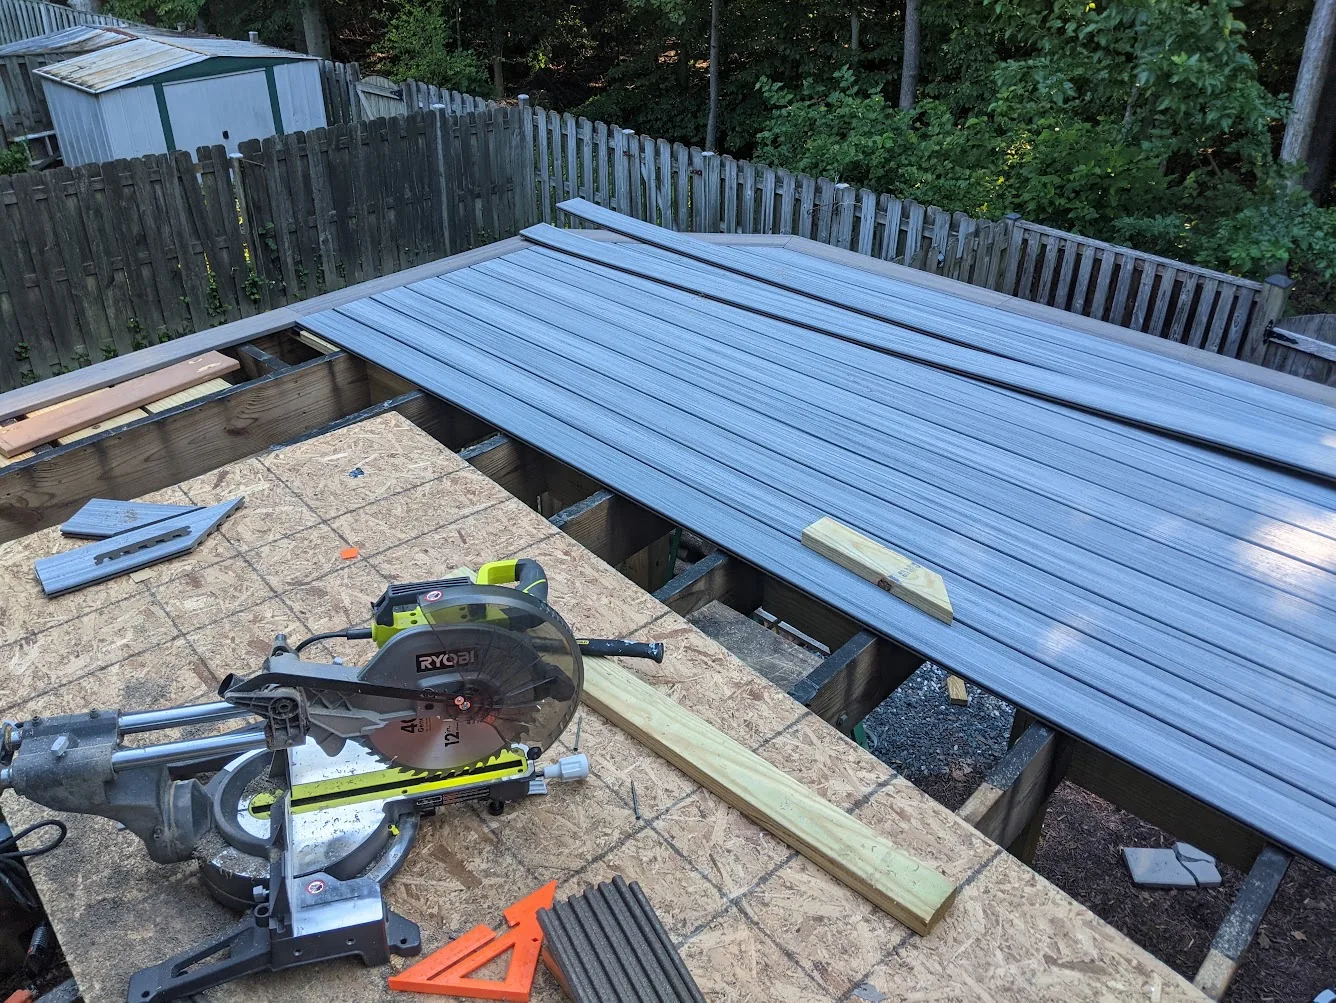
Angle layout mattered at the perimeter
The deck changes direction around corners, so accurate angle transfer matters. This is the kind of work where we use a compact Starrett miter protractor: fit the arms to the actual corner, read the miter scale, recheck and then transfer the setting to the saw.
Composite is too expensive to treat every odd corner like a guessing exercise.
A big DEWALT fan was surprisingly useful
We used a high-velocity DEWALT fan outside for two reasons: staying cooler and moving airborne dust away from the immediate work area. It does not replace proper dust control or respiratory protection where required, but on a hot outdoor project it made the work noticeably more comfortable.
DEWALT high-velocity fan ↗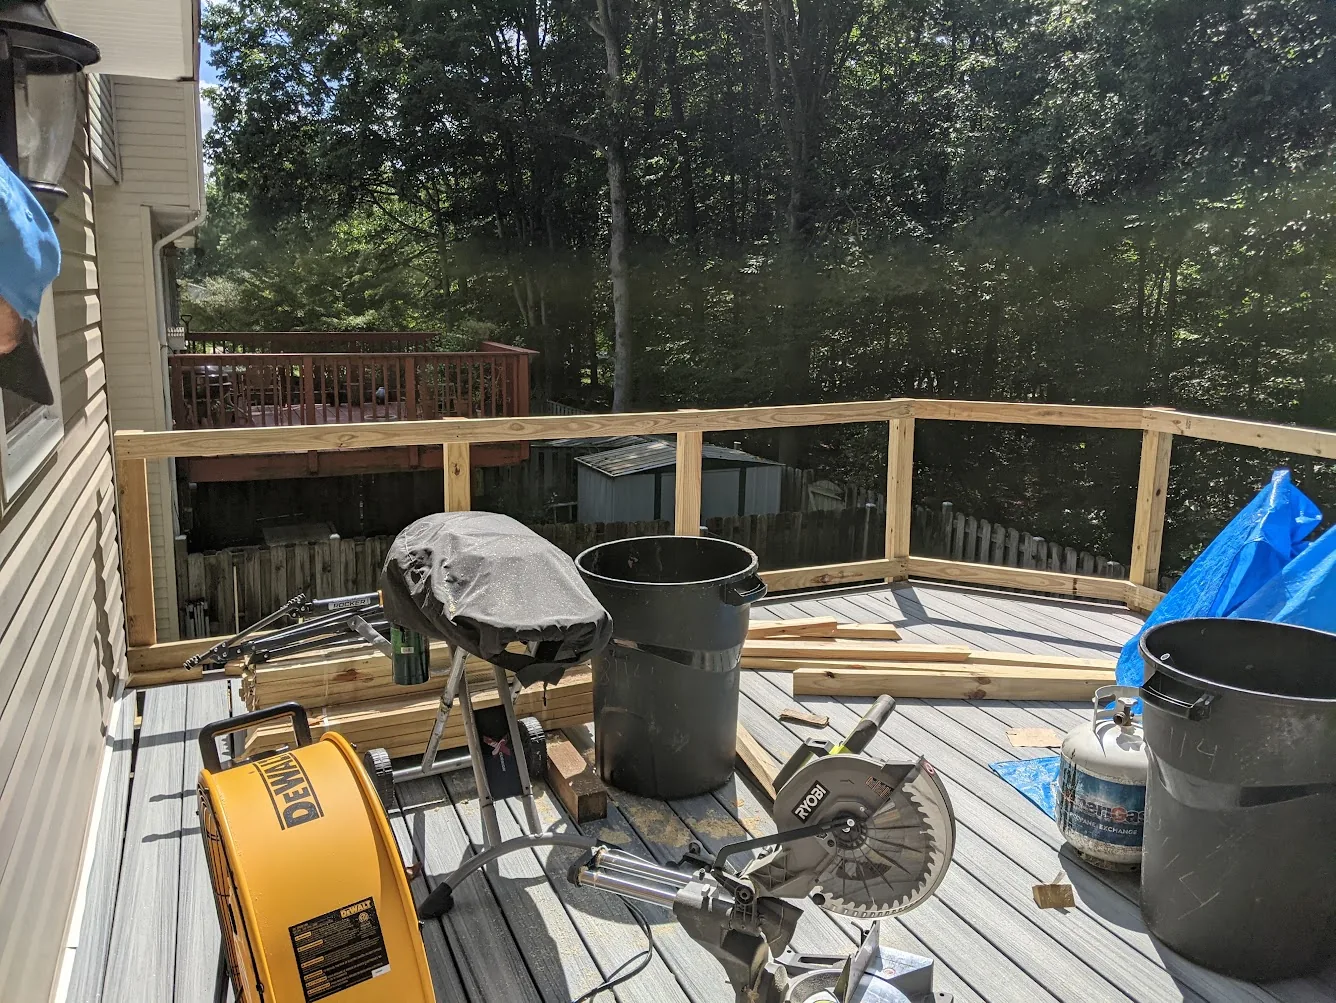
FastCap tape and consistent measuring
We also used the same basic measuring habits we rely on for finish carpentry. A FastCap Lefty/Righty tape is convenient because we can write a temporary measurement right on the case, but the bigger lesson is to stick with the same tape through the job whenever possible. Tiny differences between two tapes are easier to avoid than troubleshoot later.
The completed surface
The finished deck is the part that puts all the individual tool opinions in context. We are not reviewing these products because they looked good in a catalog; we used them to get through a real project from exposed framing to a usable composite surface.
What we would use again
We would happily use the joist tape, hidden fasteners, angle tool and measuring setup again. The RYOBI saw worked, but if we expected frequent angle changes or regular professional use, we would choose the DEWALT-style quick-lock miter controls instead.