This is a firsthand record of maintenance we performed on our family's 2012 Scion tC. We photographed the engine bay, removed plugs, tools and parts as we worked. Product names are the actual items we used or purchased. Always verify fitment for your exact vehicle and follow the factory service information for torque and safety procedures.
Why we did the $350 “tune-up” ourselves
My parents were about to take their 2012 Scion tC to a local mechanic for a “tune-up.” I asked them to call first and find out exactly what the shop meant by that. The answer was simple: replace the four spark plugs, cabin air filter and engine air filter for about $350.
Those are all jobs I have done before, and the two filters on this car require no tools at all. We ordered the parts instead. The spark plugs, WIX engine air filter, Bosch cabin filter and gap checker came to about $95 including tax.
This is one specific quote and one specific DIY job, not a claim that every shop would charge the same amount. But for us, doing these straightforward maintenance items ourselves made sense.
Parts and tools we actually used
| Item | Why it was there | Our note |
|---|---|---|
| 4 NGK Iridium IX spark plugs | Replacement plugs | All four arrived at the correct gap when we checked them. |
| WIX 49172 engine air filter | Engine air filter | No tools needed on our tC. |
| Bosch 6055C cabin air filter | Cabin HVAC filter | Installed behind the glove box; airflow arrow down on our installation. |
| CTA Tools 3235 gap checker | Verify new plug gap | Simple quick check before installation. |
| GEARWRENCH 185-piece mechanics set | 10 mm coil bolts, ratchet and spark-plug work | This is the set we kept after returning a replacement Husky set. |
| GEARWRENCH 81244 12-inch 3/8-inch extension | Reach down the spark-plug wells | Exactly the kind of longer extension we wished the tool set included. |
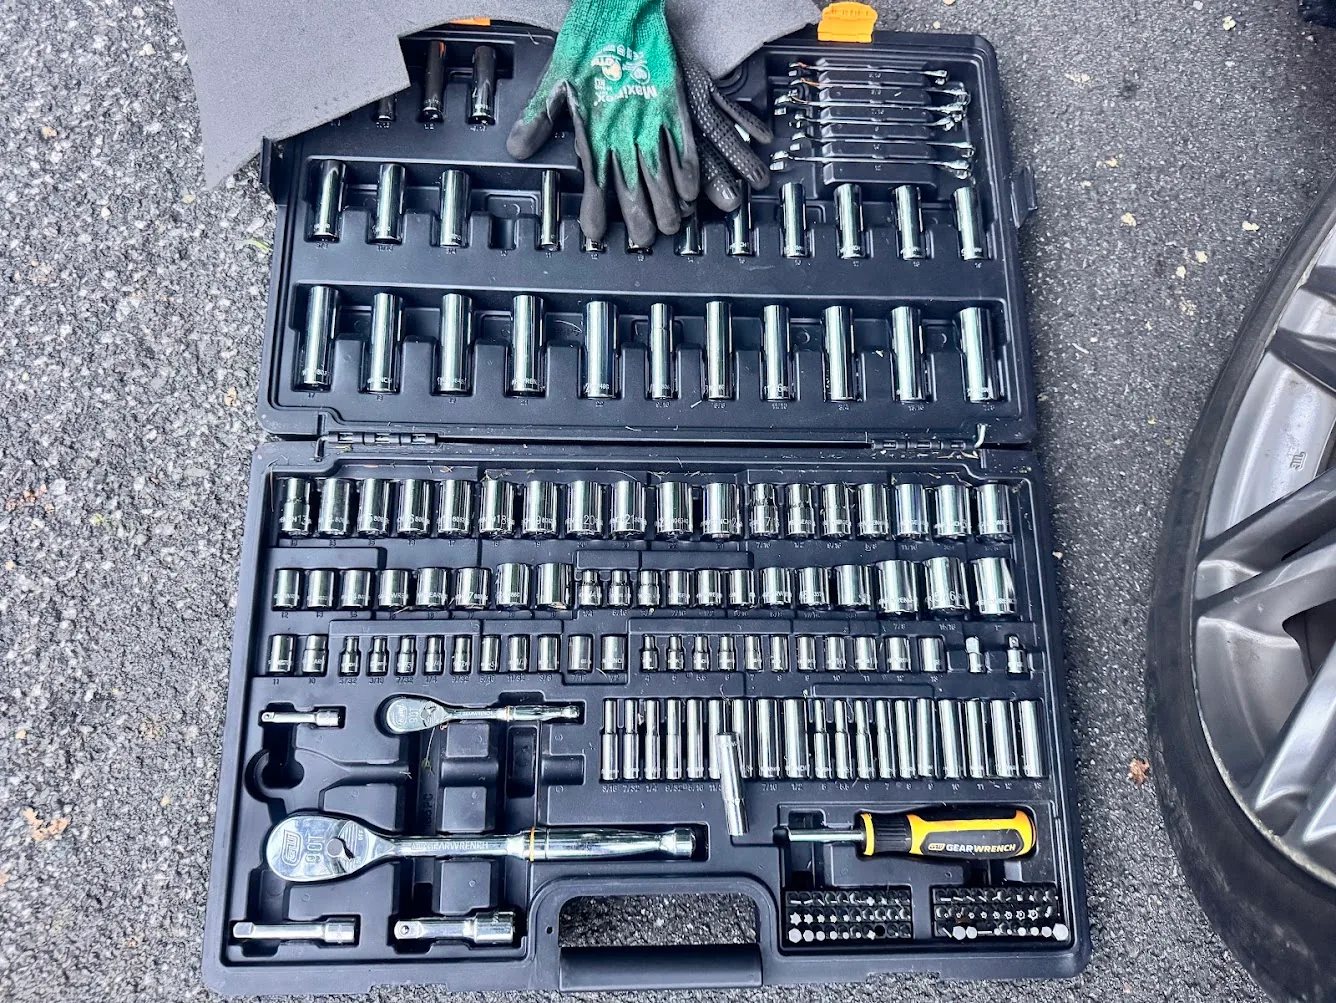
Our actual GEARWRENCH set at the car. The 12-inch extension was purchased separately.
1. Cabin air filter: genuinely a few-minute job
- Open the glove box.
- Squeeze the glove-box sides inward so the stops clear and the box can drop down.
- Remove the cabin-filter access cover.
- Pull out the old filter.
- Install the new Bosch filter in the same opening. On our installation, the airflow arrow faced down.
- Reinstall the cover and glove box.
Of the three items in the quote, this was one of the easiest. There was no reason for us to pay shop labor for it.
2. Engine air filter: also no tools
- Release the two metal clips on the air-box lid.
- Lift the top enough to access the filter.
- Remove the dirty filter.
- Seat the new WIX 49172 correctly in the housing.
- Lower the lid and reconnect both metal clips.
Again, this took only a few minutes on our car.
3. Spark plugs: where the mechanics set and long extension earned their keep
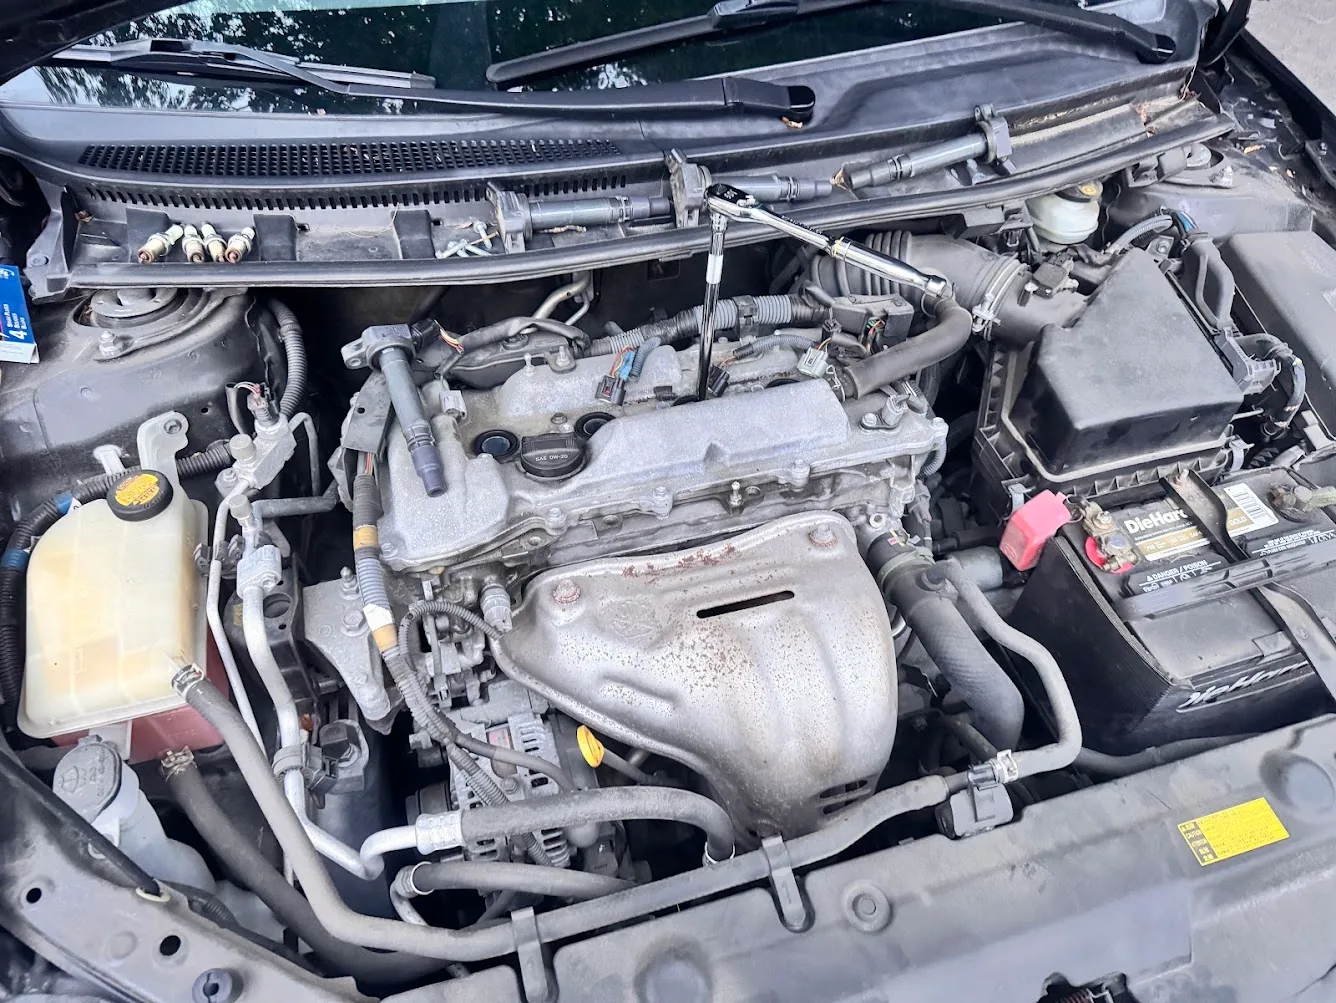
We used the cowl area to keep removed coils, bolts and plugs organized in order as we worked.
We worked one system carefully and kept the coils, bolts and old plugs organized rather than tossing everything into one pile. The four-cylinder layout made access much easier than rear-bank plugs on vehicles such as a Honda Odyssey.
- Disconnect the electrical connector from each ignition coil and release the small plastic wire-harness retainer where needed.
- Remove the 10 mm ignition-coil hold-down bolt.
- Pull the coil straight up and set it aside in order.
- Use the spark-plug socket with the 12-inch GEARWRENCH extension and ratchet to remove the old plug.
- Keep each old plug in order so you can compare how the cylinders were burning.
- Verify the new plug gap without forcing or damaging the fine-wire electrode.
- Start each replacement plug by hand through the extension/spark-plug socket to reduce the chance of cross-threading.
- Tighten to the vehicle/spark-plug manufacturer's specification, then reinstall the coils, connectors and 10 mm bolts.
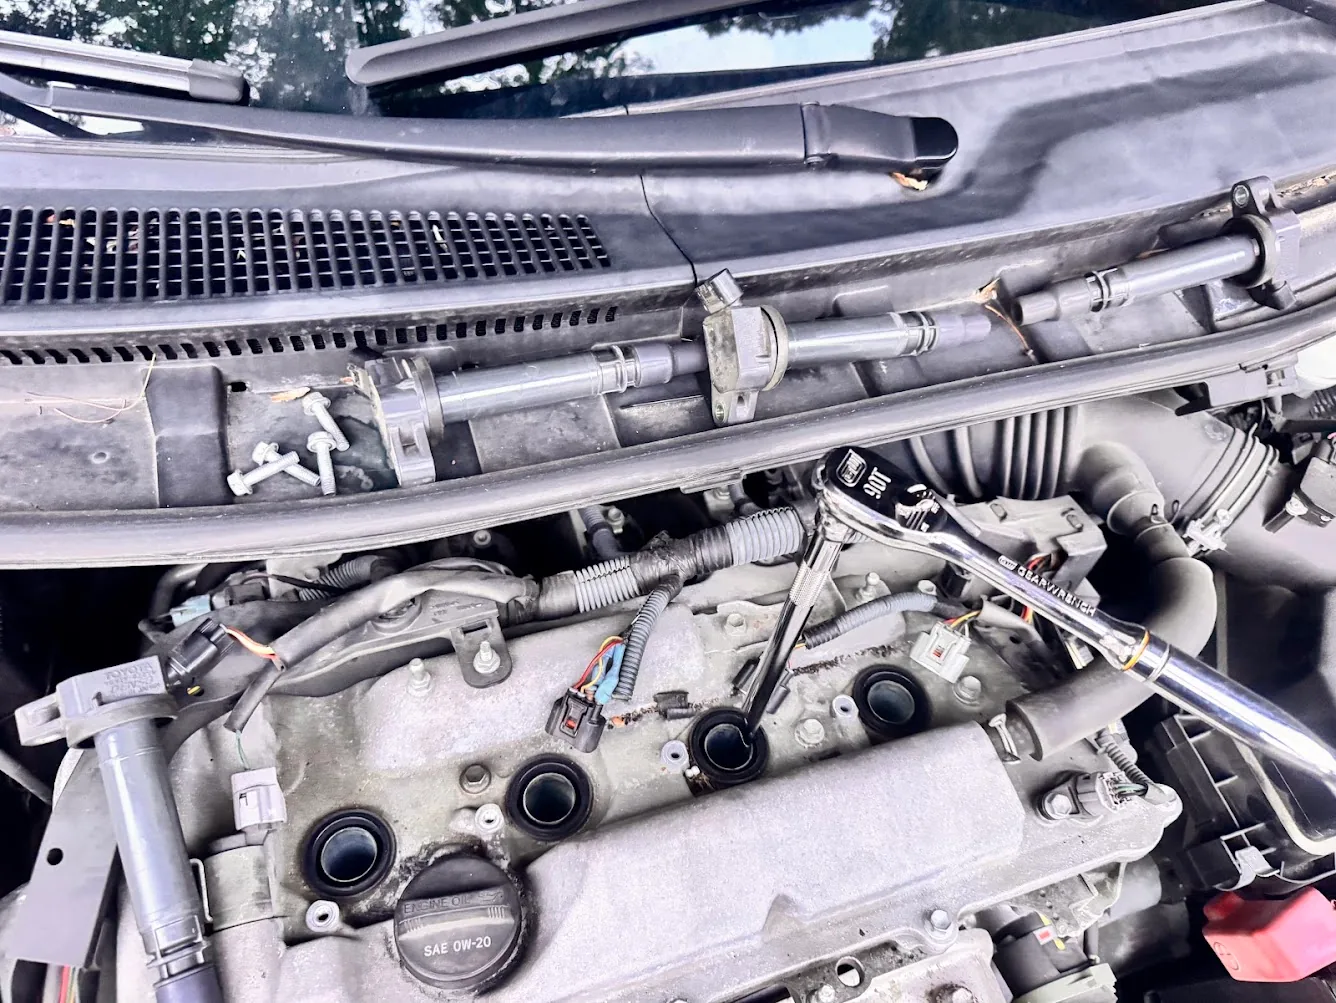
The longer extension gave us useful working room above the plug wells.
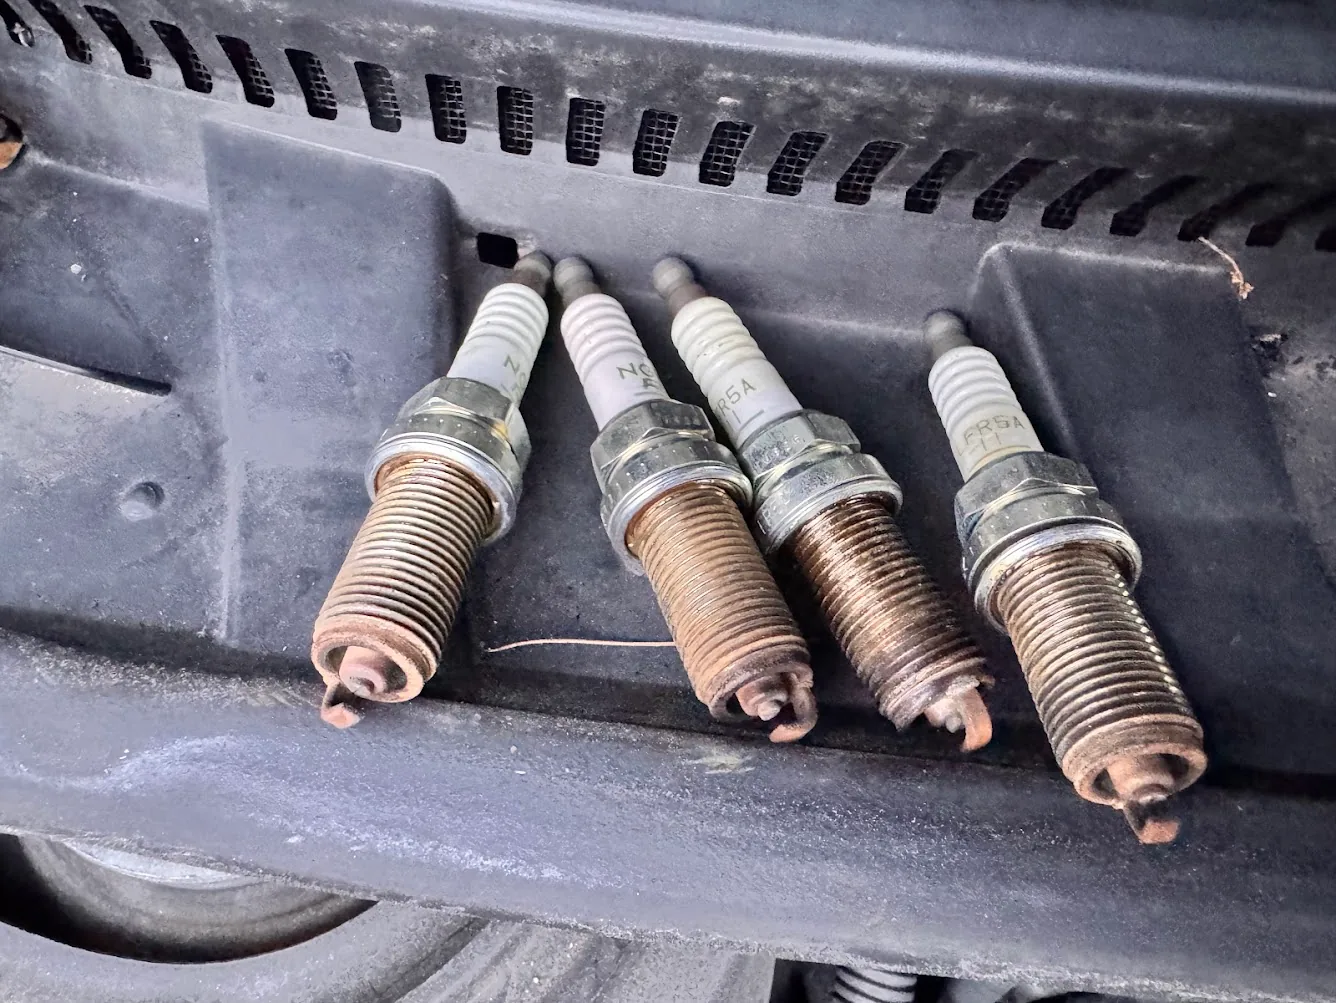
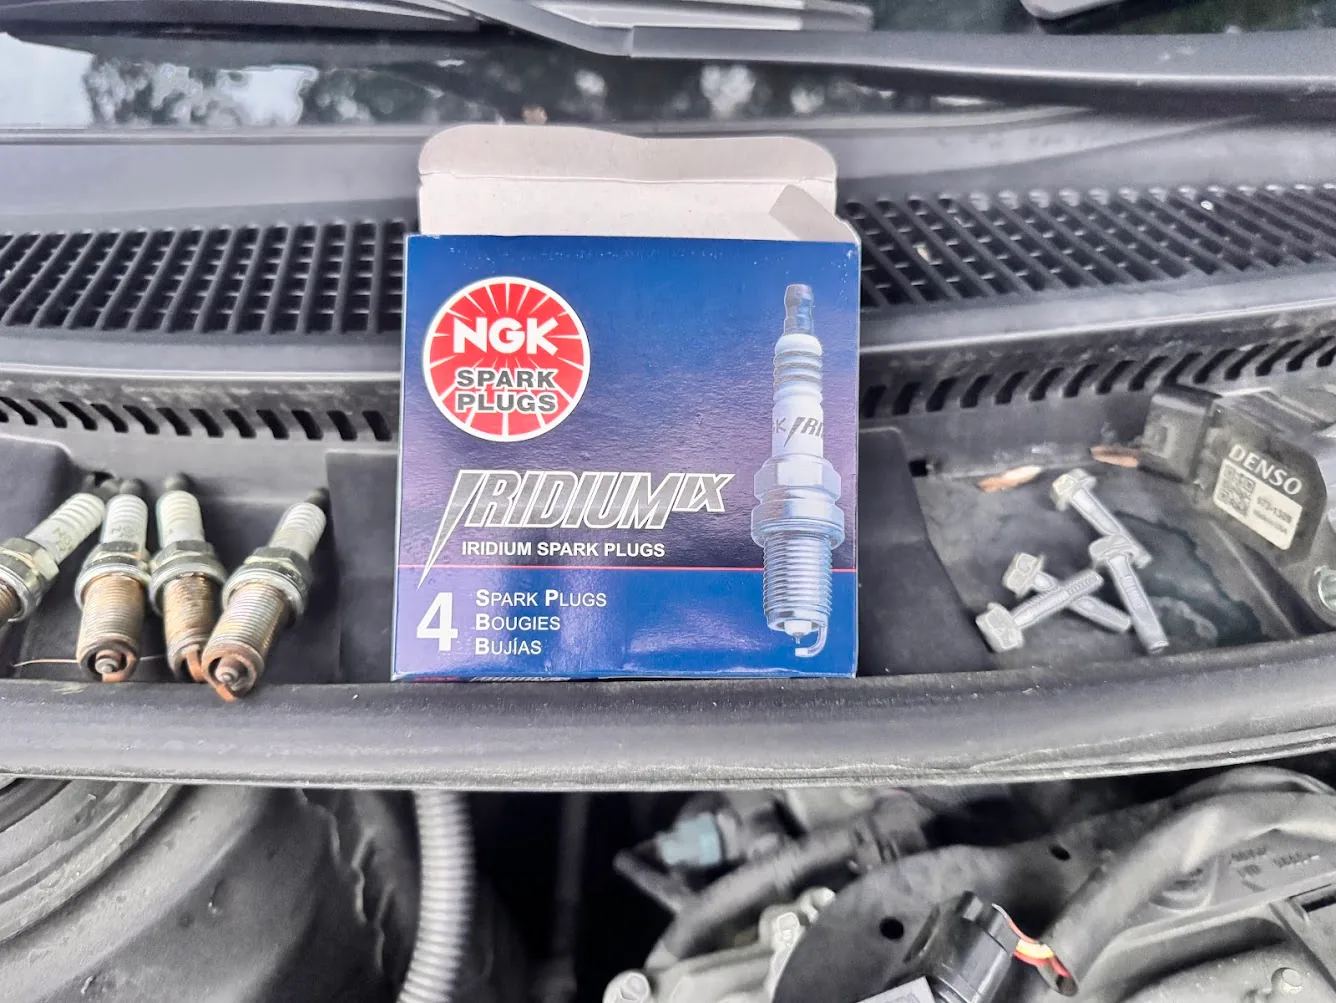
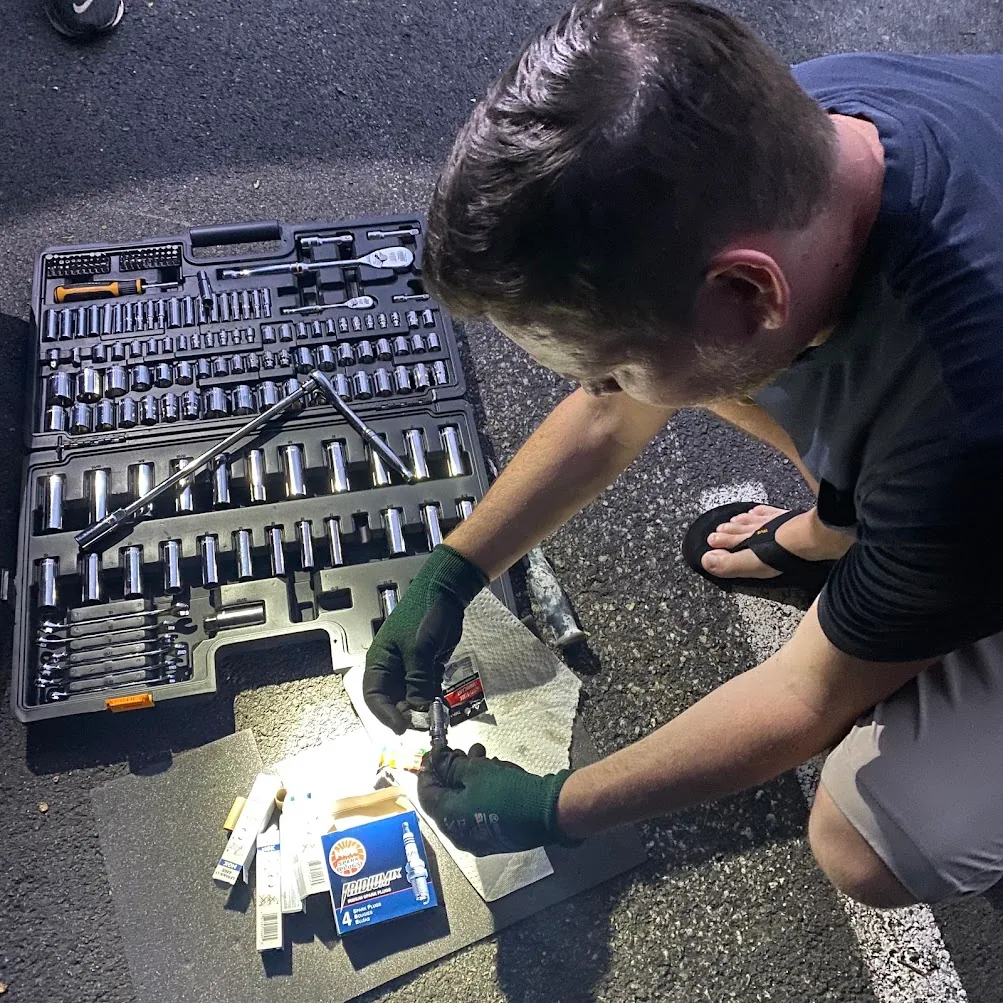
Our actual setup during the job: parts, paper towels, gloves, gap checker and mechanics set all within reach.
Checking the plug gap
We used the inexpensive CTA Tools 3235 coin-style gap checker as a quick verification tool. The NGK plugs in our set were already correctly gapped, so we did not adjust them.
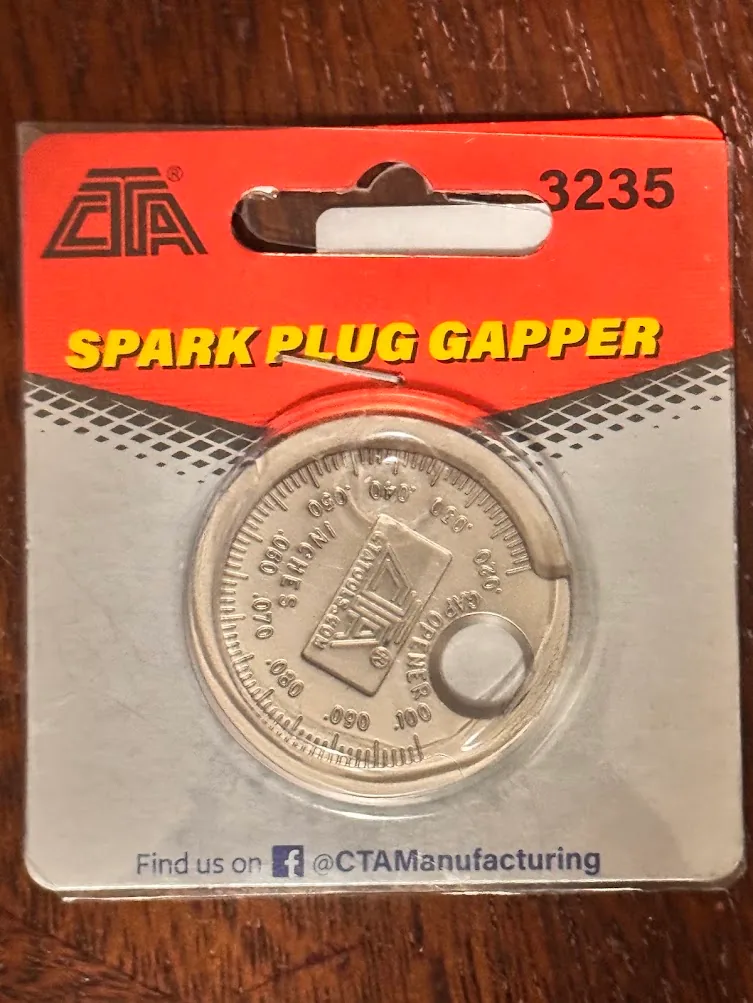
The actual CTA Tools 3235 gap checker we bought for this job.
With fine-wire iridium plugs, the goal here was verification—not aggressively bending the center electrode. Check the plug maker's instructions before attempting an adjustment.
A correction from our actual job: anti-seize on NGK threads
During this job, we put a small amount of anti-seize on the new plug threads because that is a habit we had used in the past. After checking NGK's current guidance while preparing this article, we would not repeat that step on these NGK plugs. NGK says its plated spark-plug threads should be installed dry and warns that anti-seize changes the torque relationship and can lead to over-tightening.
That is exactly why we want Gear Arena's firsthand articles to include what we learned after the wrenching was done—not pretend every step we took was automatically the best practice. For NGK plugs, follow NGK and the vehicle manufacturer's current installation guidance.
A small tip that made the job cleaner: use the cowl as an organized staging area
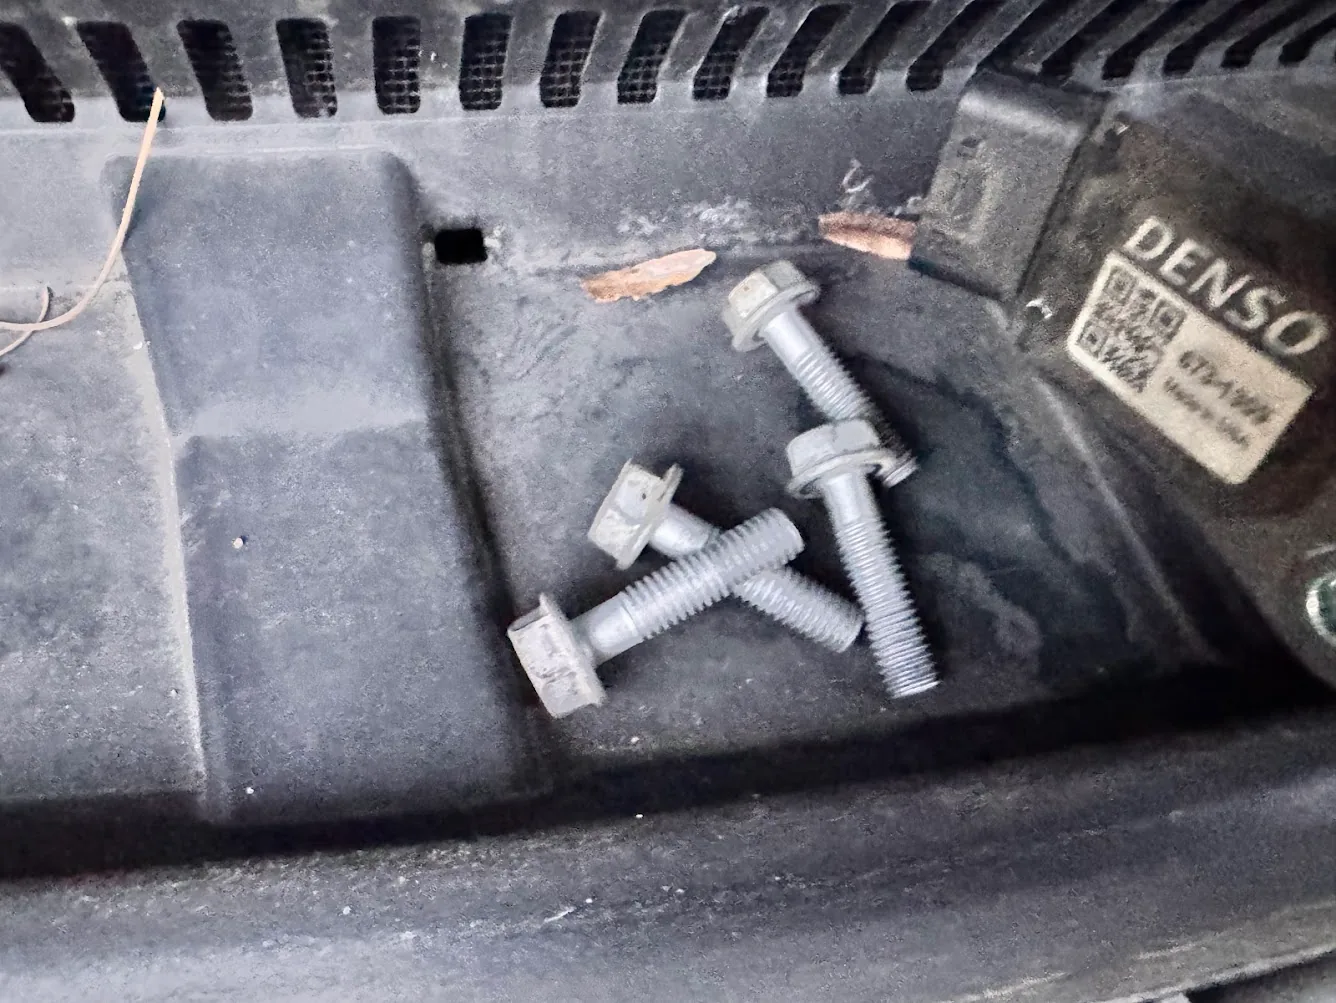
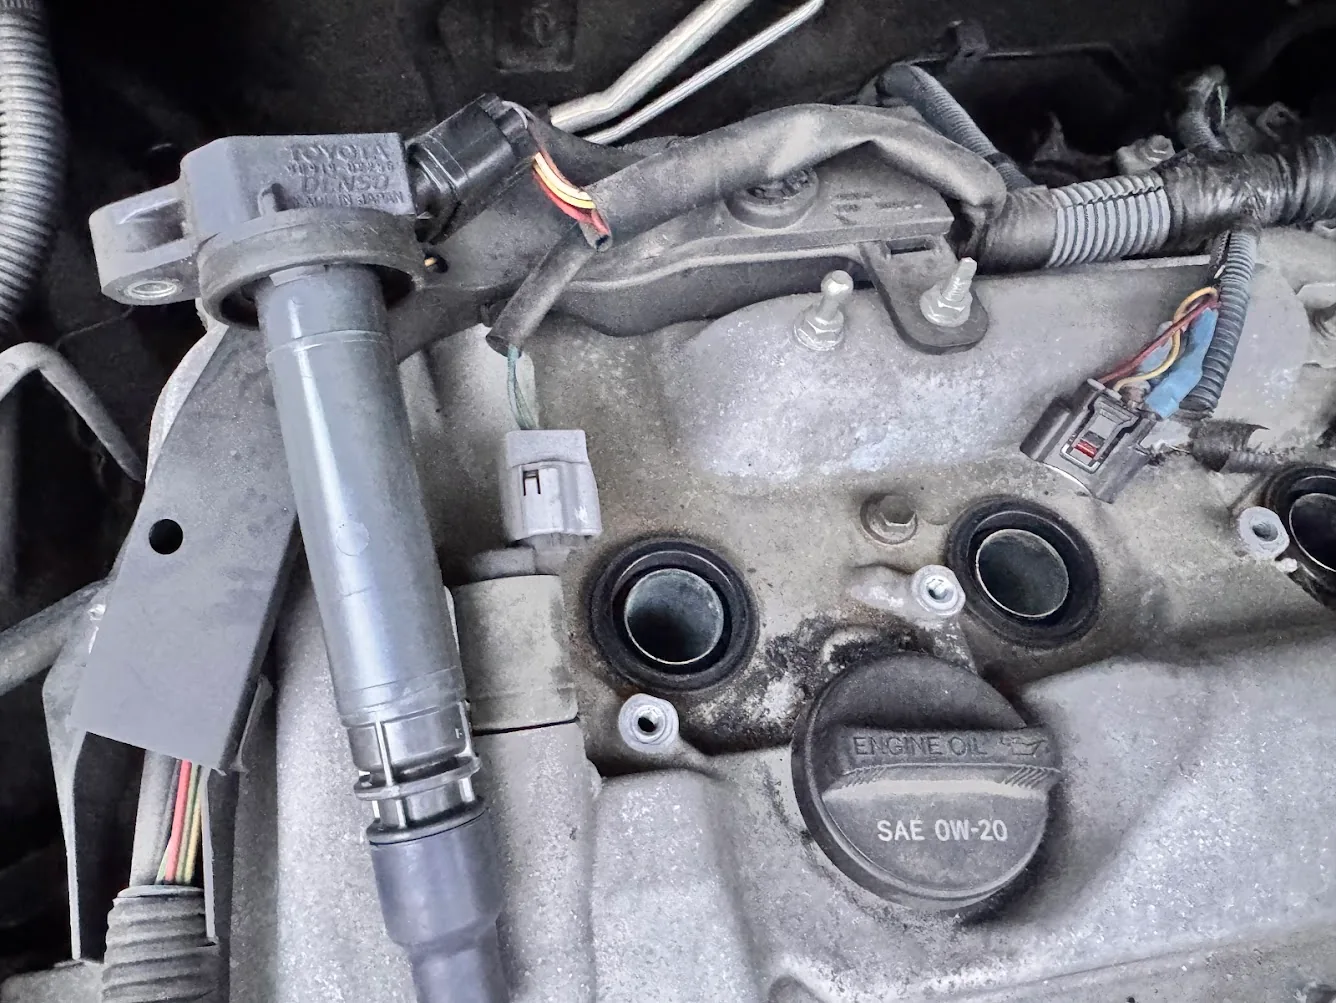
This is not a special tool, but it matters. Keeping plugs, coils and bolts in order makes reassembly more obvious and reduces the chance of losing a fastener.
One follow-up repair: rewrapping brittle wire-harness covering
While working around the ignition-coil wiring, we noticed some of the original outer harness covering/plastic had become brittle and broken with age. We ordered tesa 51036 PET cloth automotive wire-harness tape to tidy and protect that area.
View the tesa 51036 tape we ordered ↗We have not used it yet, so this is not a Gear Arena review. We will update the article after we actually install it.
Was doing the tune-up ourselves worth it?
Yes—for this job, absolutely.
The cabin and engine filters were tool-free and took only minutes. The plugs took more time, but access on the four-cylinder tC was straightforward with a spark-plug socket, ratchet and a long extension. We spent about $95 on the parts order instead of the roughly $350 quote and also ended up with tools we can use again.
The larger lesson is to ask what a shop's “tune-up” actually includes. Sometimes the work may justify the labor quote. Sometimes—as in our case—the list may contain maintenance items you are comfortable doing yourself.
Before doing this on your own car
- Verify every part against your exact year, engine and vehicle.
- Work on a cool engine.
- Start spark plugs by hand to reduce cross-threading risk.
- Follow factory and plug-manufacturer torque guidance rather than guessing.
- Do not assume a gap or filter orientation from another vehicle.
- If a connector, coil, thread or fastener feels wrong, stop rather than forcing it.
Reference notes
For this article we cross-checked NGK's published spark-plug installation guidance and Toyota/Scion owner/maintenance documentation while keeping the actual job description based on our firsthand work.