This is a firsthand account of our own 2005 Honda Accord EX V6 sedan front brake-pad job. Product names and current retailer listings were cross-checked where practical, but the job details, photos, observations and opinions come from our actual work.
Quick summary
2005 Honda Accord EX V6 sedan
Both front brake pads only; existing rotors were still serviceable from the previous brake job
About $55 for the Akebono front pads, plus small amounts of supplies we already had
Roughly 45–60 minutes for both front sides
That is not a universal shop-price comparison. It is simply the quote we remember versus what this particular pad-only job cost us in replacement pads. We already owned the tools, jack, stands, cleaner and lubricant.
Why we changed only the pads
Right after finishing the rear brakes and rotors, we started hearing the front wear indicator squeal. The front rotors had been replaced during the previous brake service and still looked and felt serviceable, so this job was what people often casually call a “pad slap”: replacing the pads while reusing rotors that remain within service limits and are otherwise suitable for reuse.
The old front pads were worn fairly evenly. The front job was much easier than the rear brake work, where stripped rotor retaining screws turned a straightforward repair into a fight.
Do not assume a rotor is reusable just because ours was. Inspect condition and thickness against the vehicle and rotor manufacturer's service limits.
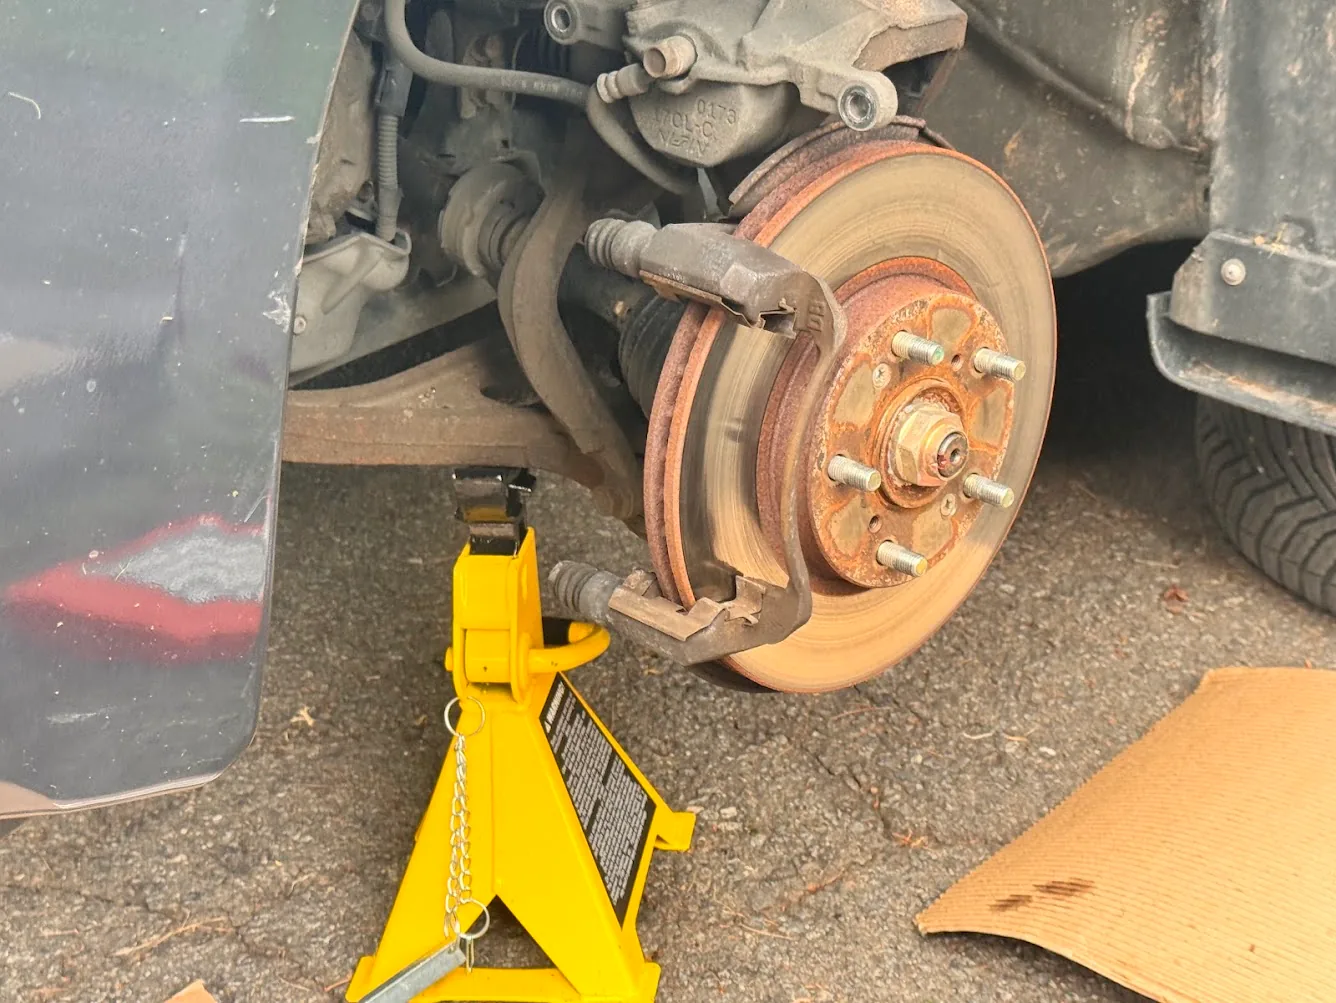
One of the actual front brake assemblies before the new pad installation.
Parts and tools we actually used
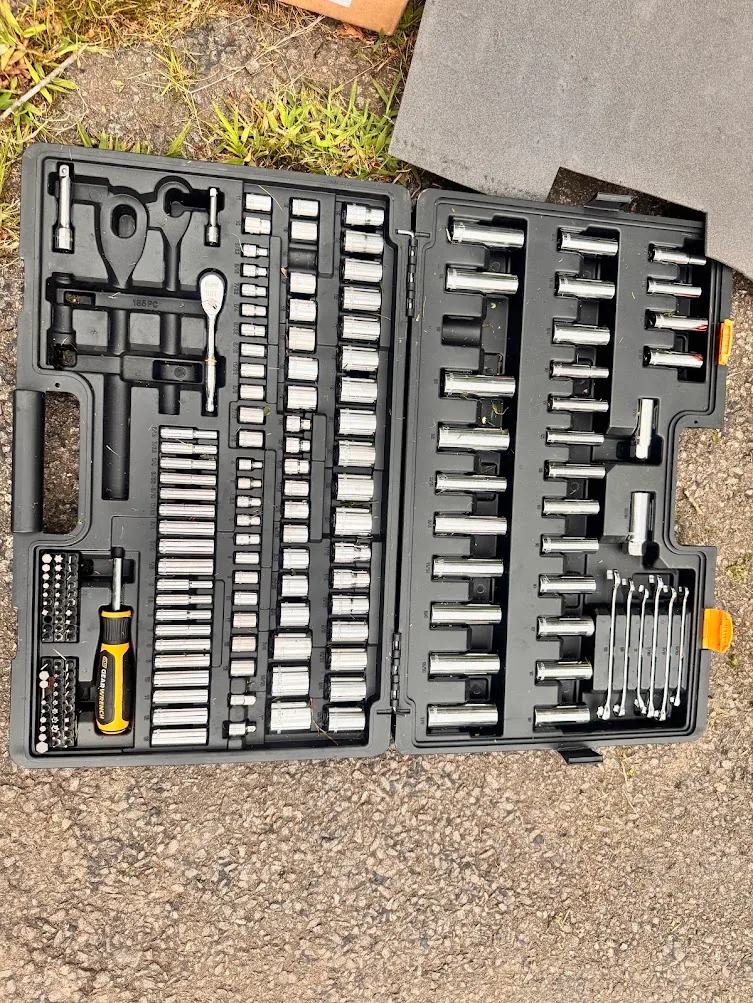
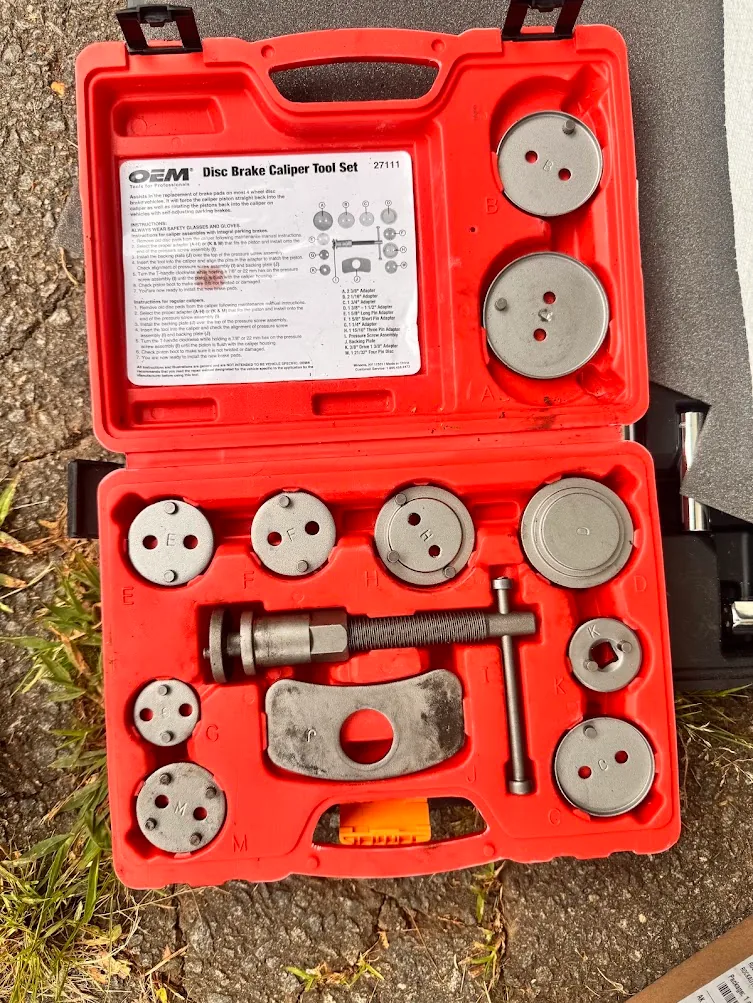
The core items for this job were the Akebono ACT787A front ceramic pads, our GEARWRENCH 185-piece mechanics set, the OEMTOOLS caliper compression set, Jack Boss floor jack and stands, CRC BRAKLEEN, AGS SIL-Glyde, gloves, paper towels and cardboard.
Lifting and supporting the car
The Jack Boss low-profile floor jack and Jack Boss 3-ton stands both worked as advertised. We had no real complaints during this job.
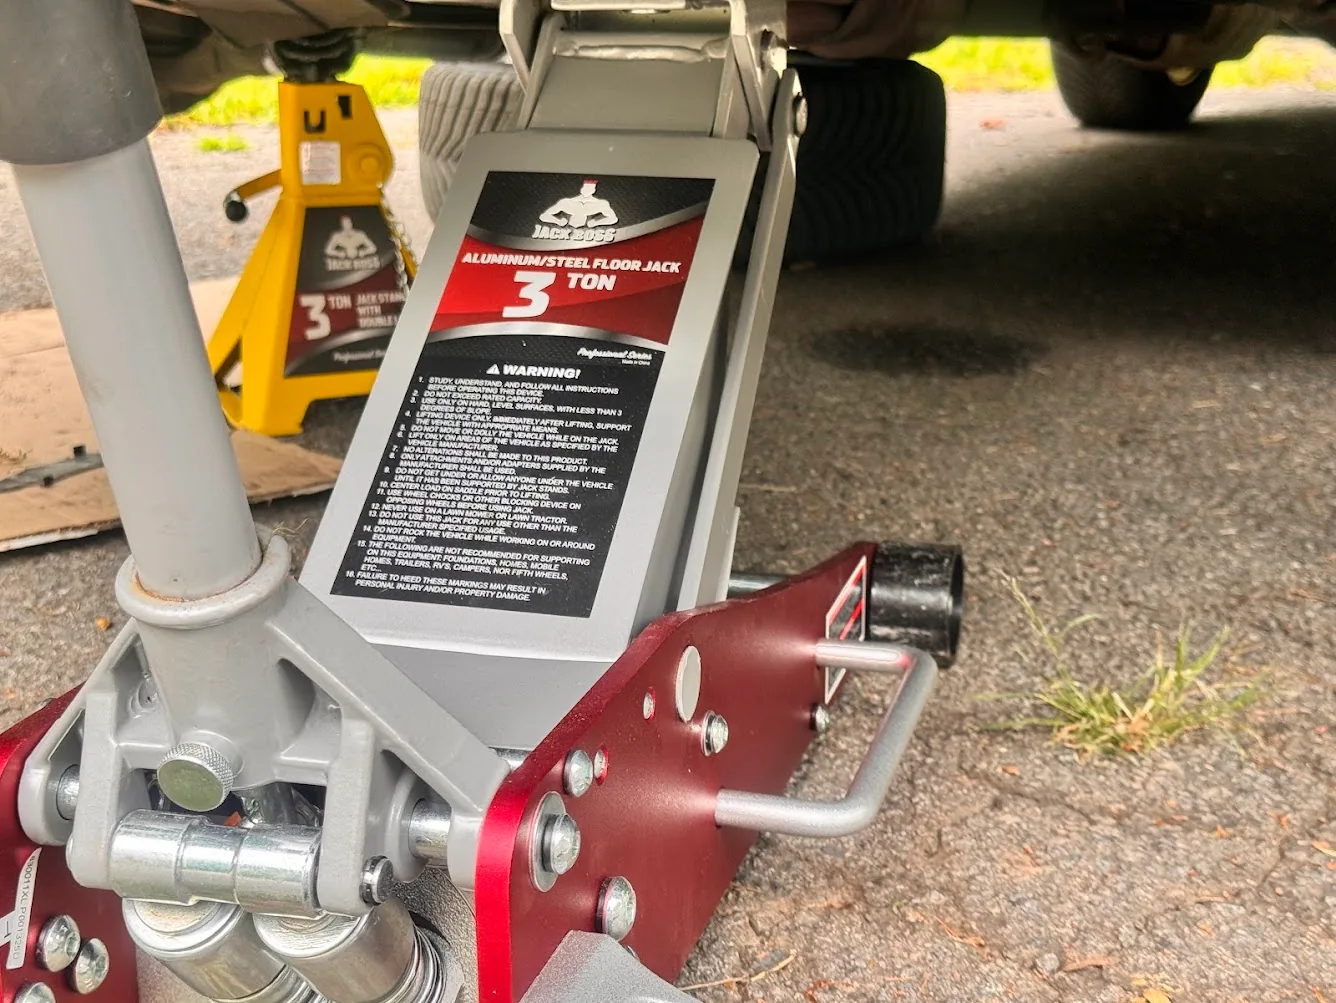
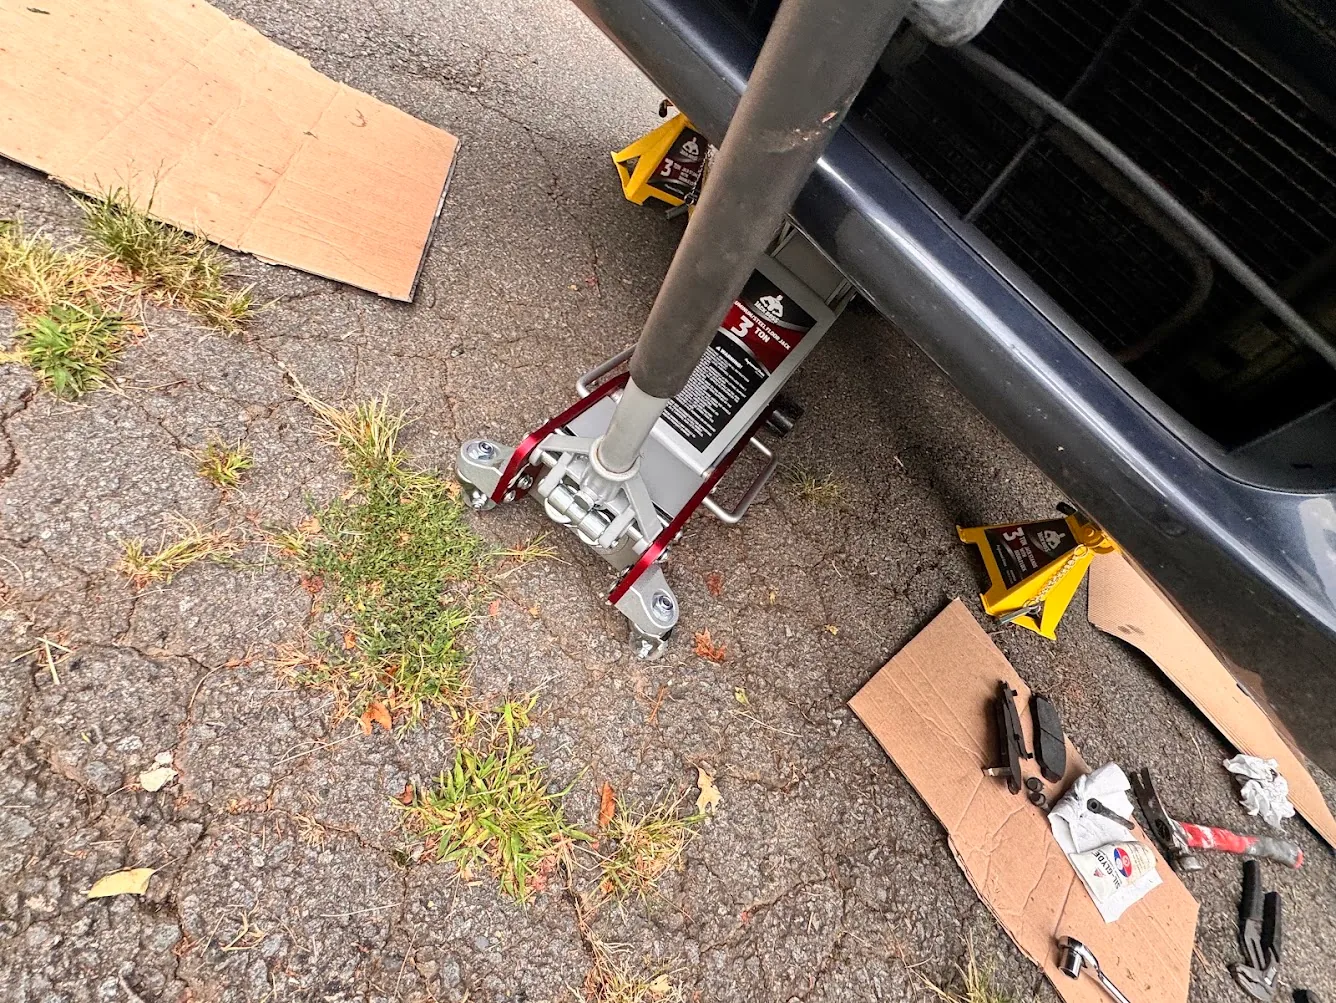
Safety: use the correct lifting and support points for your vehicle, work on stable ground, chock wheels as appropriate and never rely on a hydraulic floor jack as the only support.
How the front-pad job went
- Lift and securely support the front of the vehicle, then remove the wheel.
- Remove the necessary caliper fasteners. On our job, the bolts came apart fairly easily; only light tapping on the wrench was needed to break some loose.
- Support the caliper so its weight is not hanging from the brake hose.
- Remove the old pads and inspect the rotor, caliper hardware, slide pins and boots.
- Clean the appropriate brake components with brake-parts cleaner.
- Clean and lubricate the serviceable caliper slide pins with a compatible brake lubricant. We serviced all four front slide pins with SIL-Glyde.
- Lubricate the appropriate metal hardware/pad contact areas according to the pad and vehicle service instructions. Keep lubricant off the friction surfaces.
- Compress the caliper piston slowly. We loosened the brake-fluid reservoir cap and monitored the fluid level as the piston moved back. We did not open the hydraulic system or bleed the brakes on this pad-only job.
- Install the new pads and hardware, reassemble the caliper and repeat on the other side.
- Before driving, restore the reservoir cap, verify fluid level as specified, pump the brake pedal until it becomes firm, reinstall wheels correctly and complete the brake/pad manufacturer's recommended checks or bedding procedure.
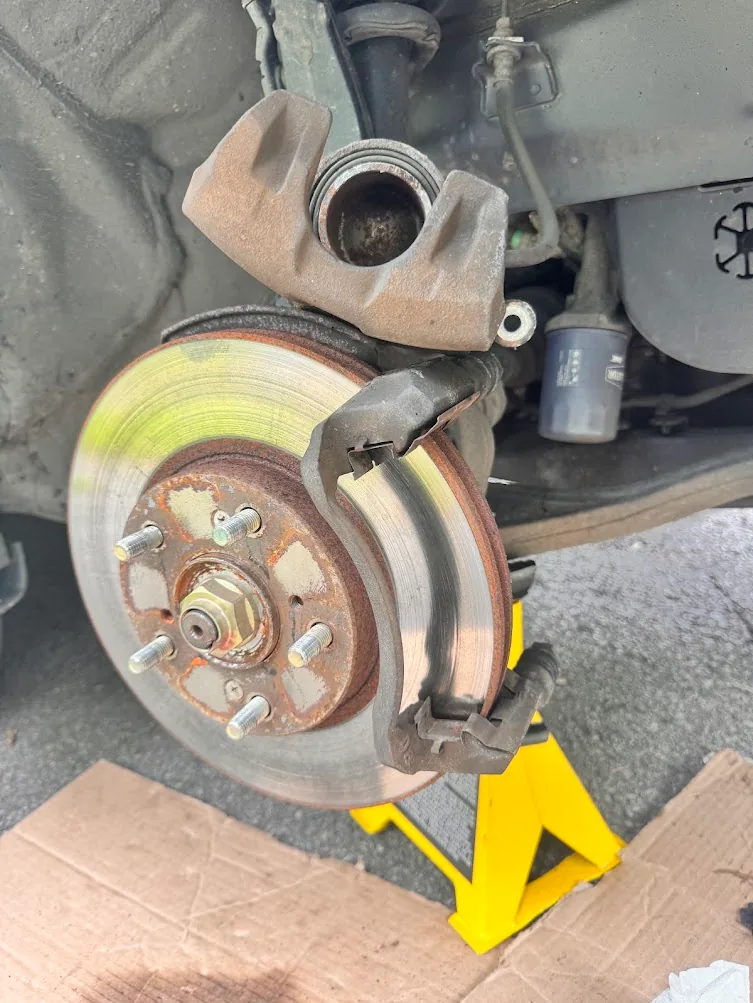
Our actual front brake setup with the caliper moved out of the way for pad service.
SIL-Glyde, hardware and caliper pins
We have used AGS SIL-Glyde for years. On this Accord job we cleaned and lubricated all four front caliper slide pins and used a small amount on the appropriate metal hardware and pad contact points where the service procedure called for it.
The important distinction is where not to put it: do not contaminate the pad friction material or rotor surface. Follow the brake-pad and vehicle service instructions for the exact lubrication points.
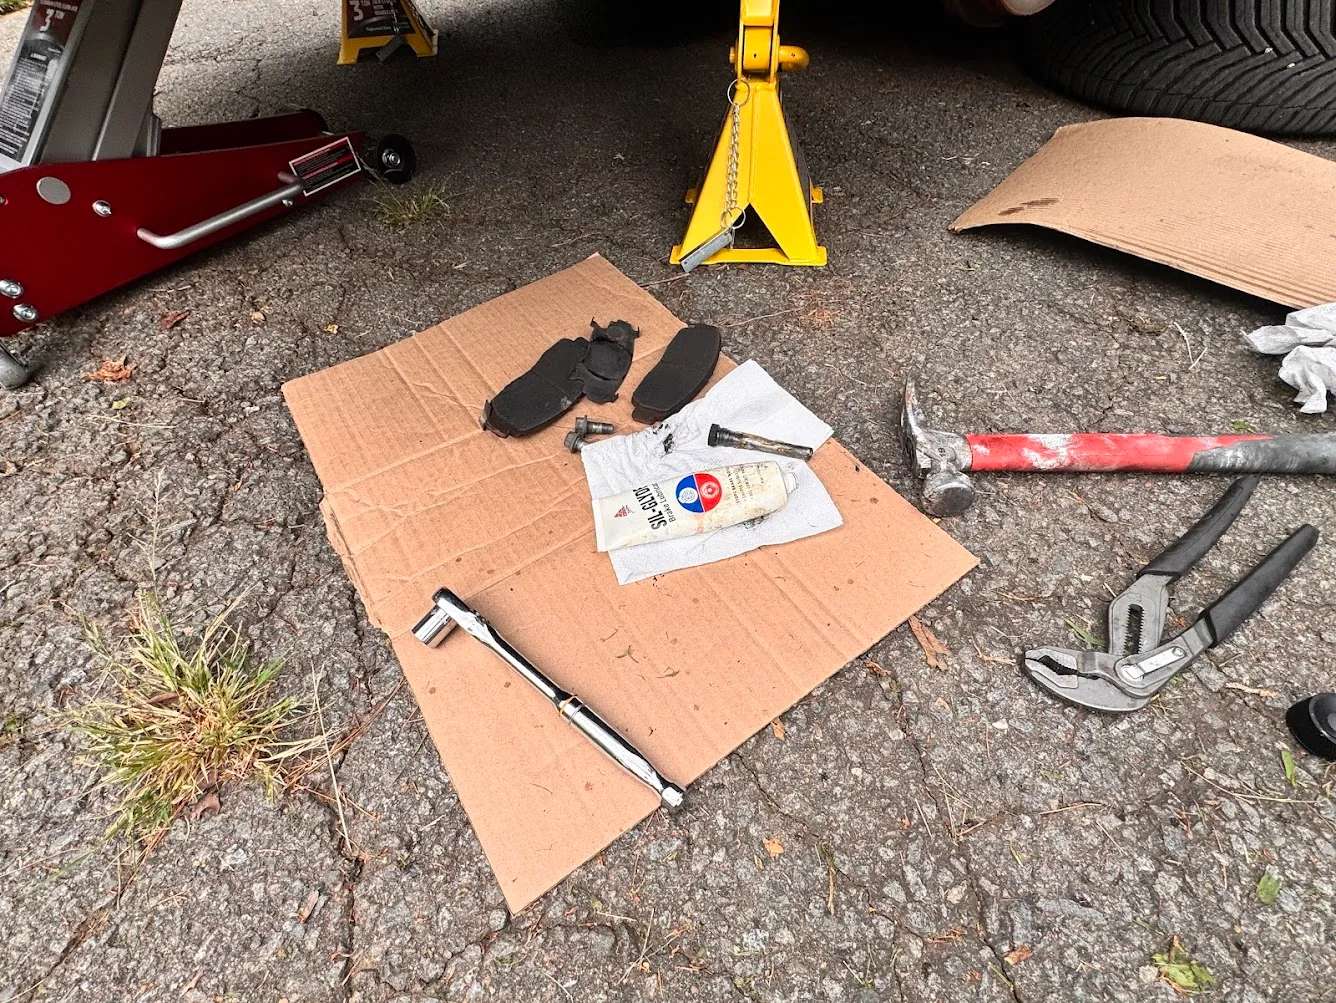
The inexpensive stuff matters too: cardboard, paper towels and gloves kept the driveway and work area cleaner.
The OEMTOOLS caliper tool was easy to use
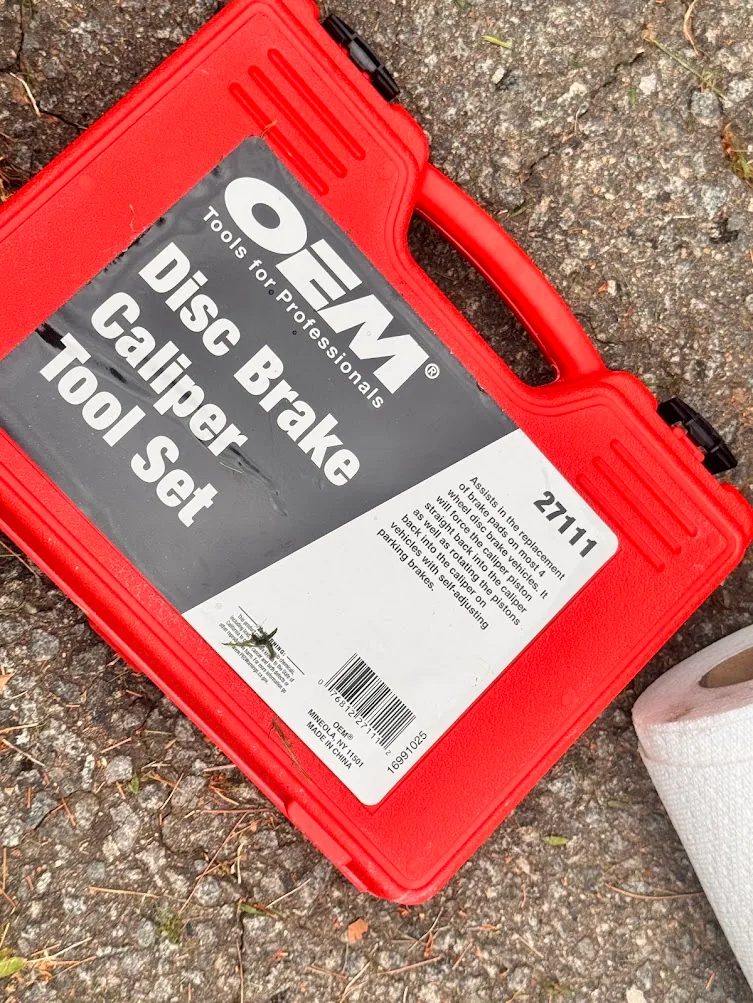
We used the OEMTOOLS 27111 disc brake caliper tool set to move the piston back. For this job it was simple and gave us controlled pressure rather than improvising with whatever happened to be nearby.
Then it started raining
Partway through the job it started to rain. We put up our 13×13 pop-up canopy over the Accord and work area. It ended up being surprisingly useful: the car, open tool cases and brake components stayed much drier while we finished.
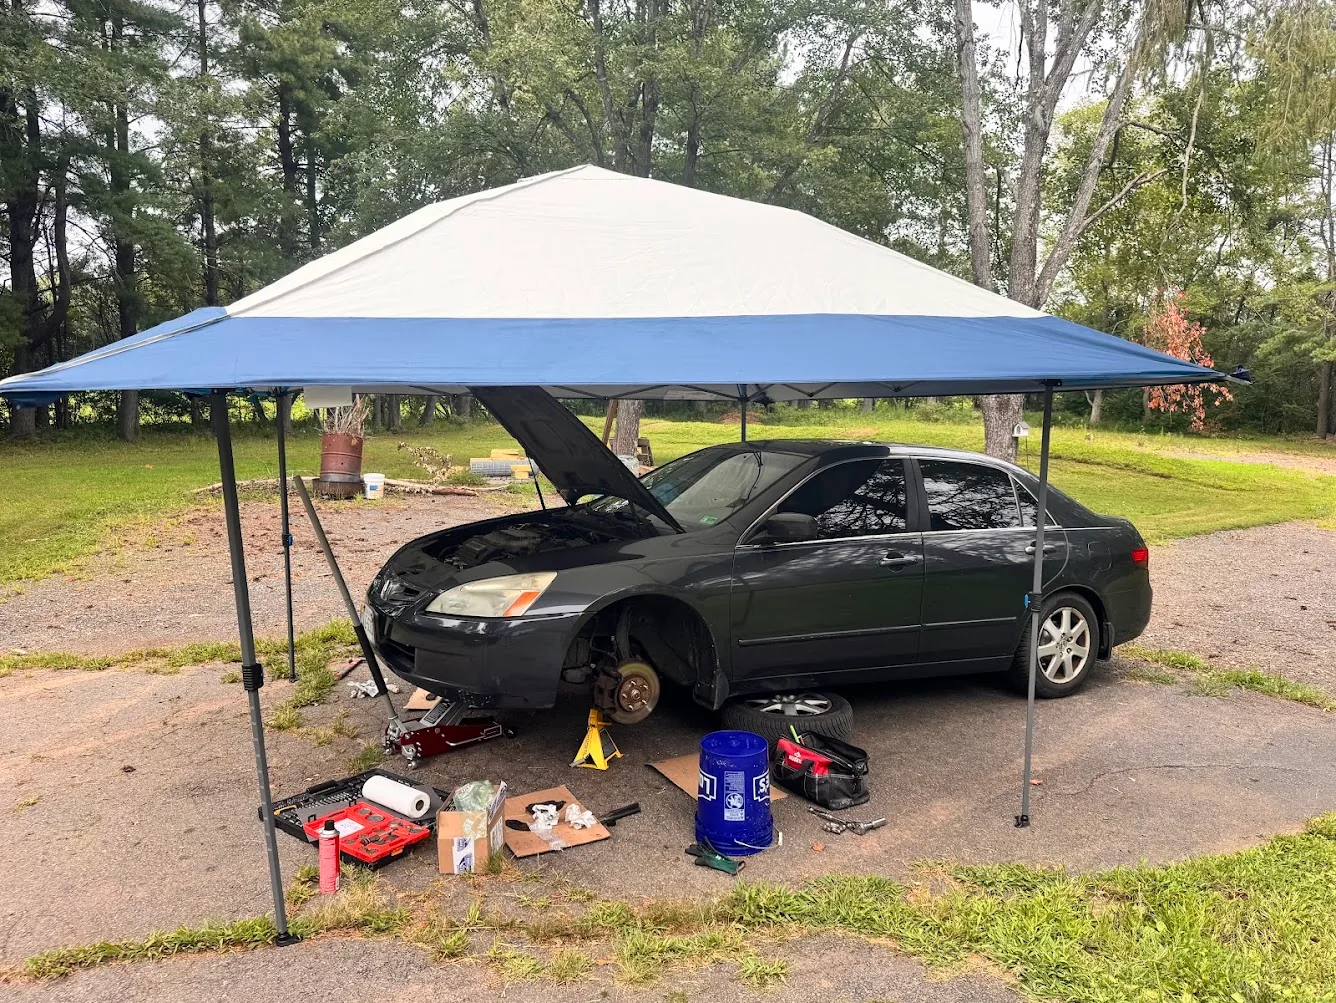
Not a glamorous brake tool, but on this particular day the canopy absolutely earned its place in the setup.
How it drove afterward
The Accord drove very smoothly afterward and the brakes felt great. The old pads had worn fairly evenly, and we did not have any brake-specific problem after the replacement.
We did hear a clanking noise later and naturally wondered whether something from the brake job was loose. It turned out to be unrelated.
The clunk afterward was not the brakes
After chasing the noise for a while, we found a loose bolt at the upper radiator/core-support area. Tightening that fastener eliminated the clanking noise.
The loose upper support-area fastener that ended up causing the clank. Tightening it stopped the noise.
A new noise after brake work should still be taken seriously. Check the brake work and other nearby components rather than assuming the cause. If braking feels abnormal, the pedal is soft, a wheel drags or you are unsure about the repair, stop driving and inspect the vehicle or have a qualified technician inspect it.
About tightening brake hardware
Because we have done this work repeatedly, we personally tightened familiar fasteners by feel on this job. That is our experience, not a recommendation to guess. For a published DIY guide, our advice is to use the vehicle's service information and the specified torque values for safety-critical fasteners whenever available.
Was the pad-only DIY job worth it?
For our Accord, yes.
About $55 in Akebono pads, roughly an hour of our time and tools we already owned gave us smooth, quiet braking again. The front job was straightforward, especially compared with the stripped rotor screws we encountered on the rear.
The bigger lesson is that a brake job can vary dramatically depending on rust, fasteners, rotor condition, caliper condition and the specific vehicle. A simple pad replacement stays simple only when the rest of the system checks out.